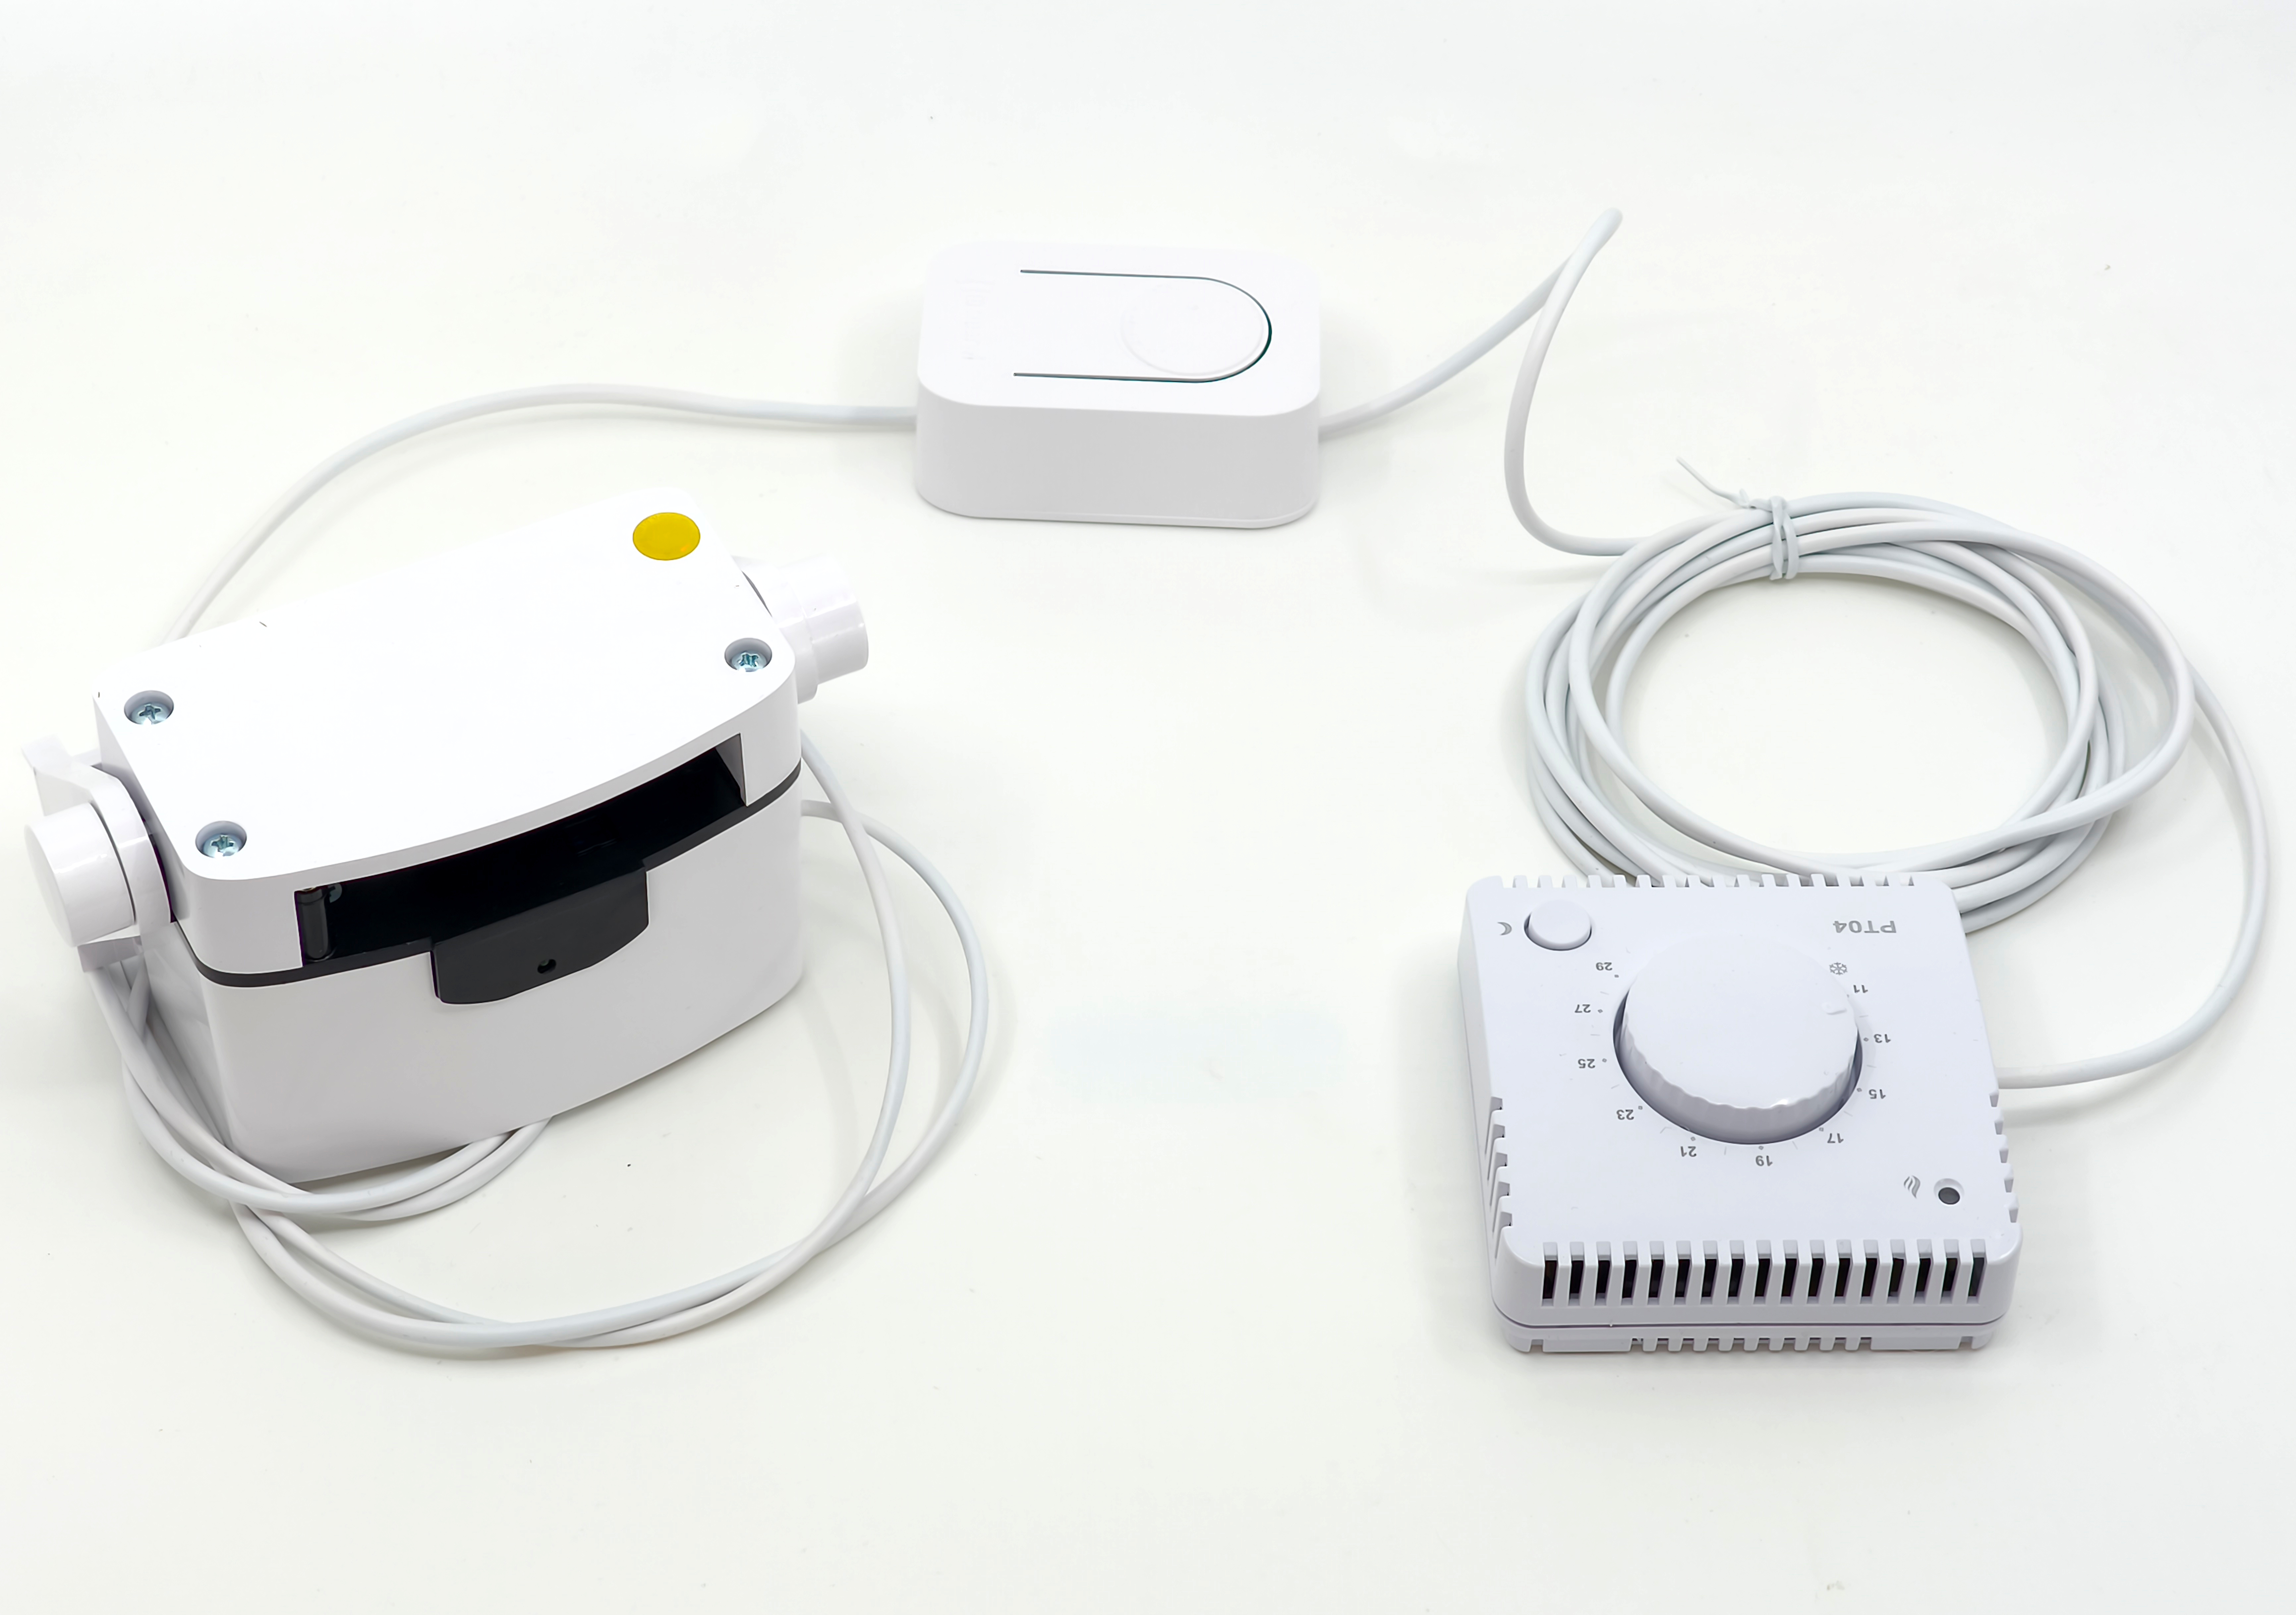
Smart Temperature Sensor for SMARWI
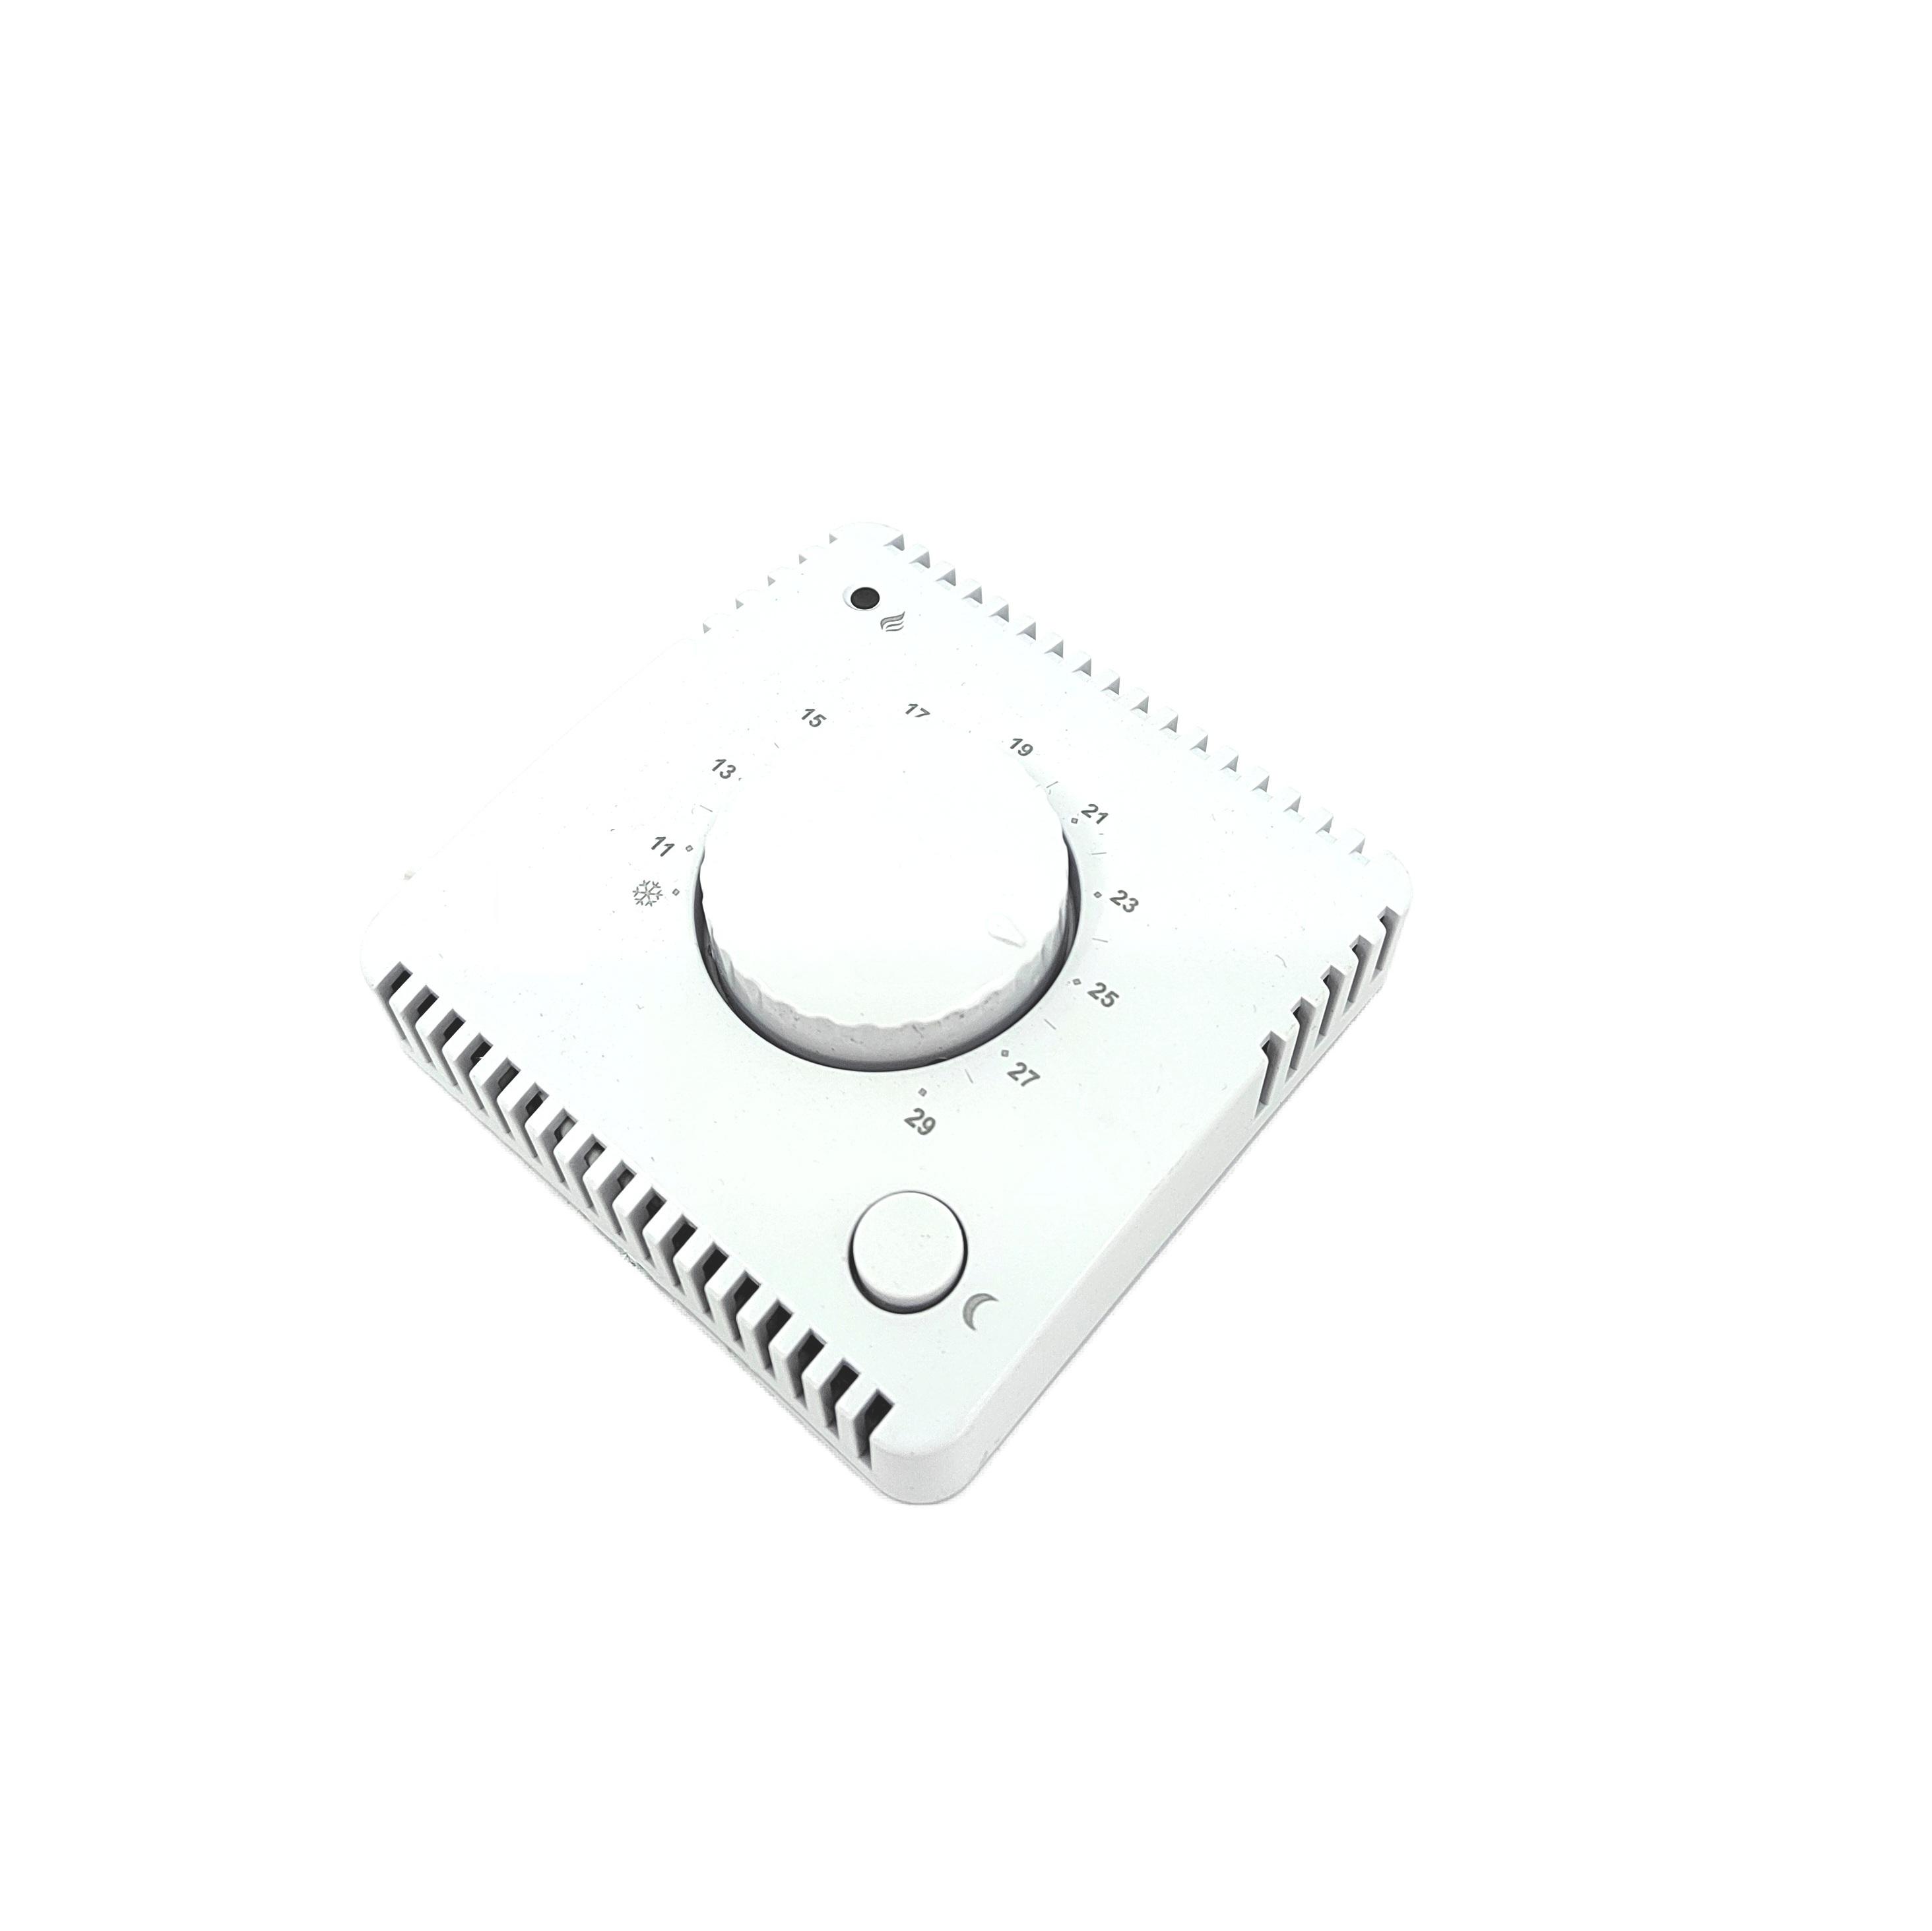
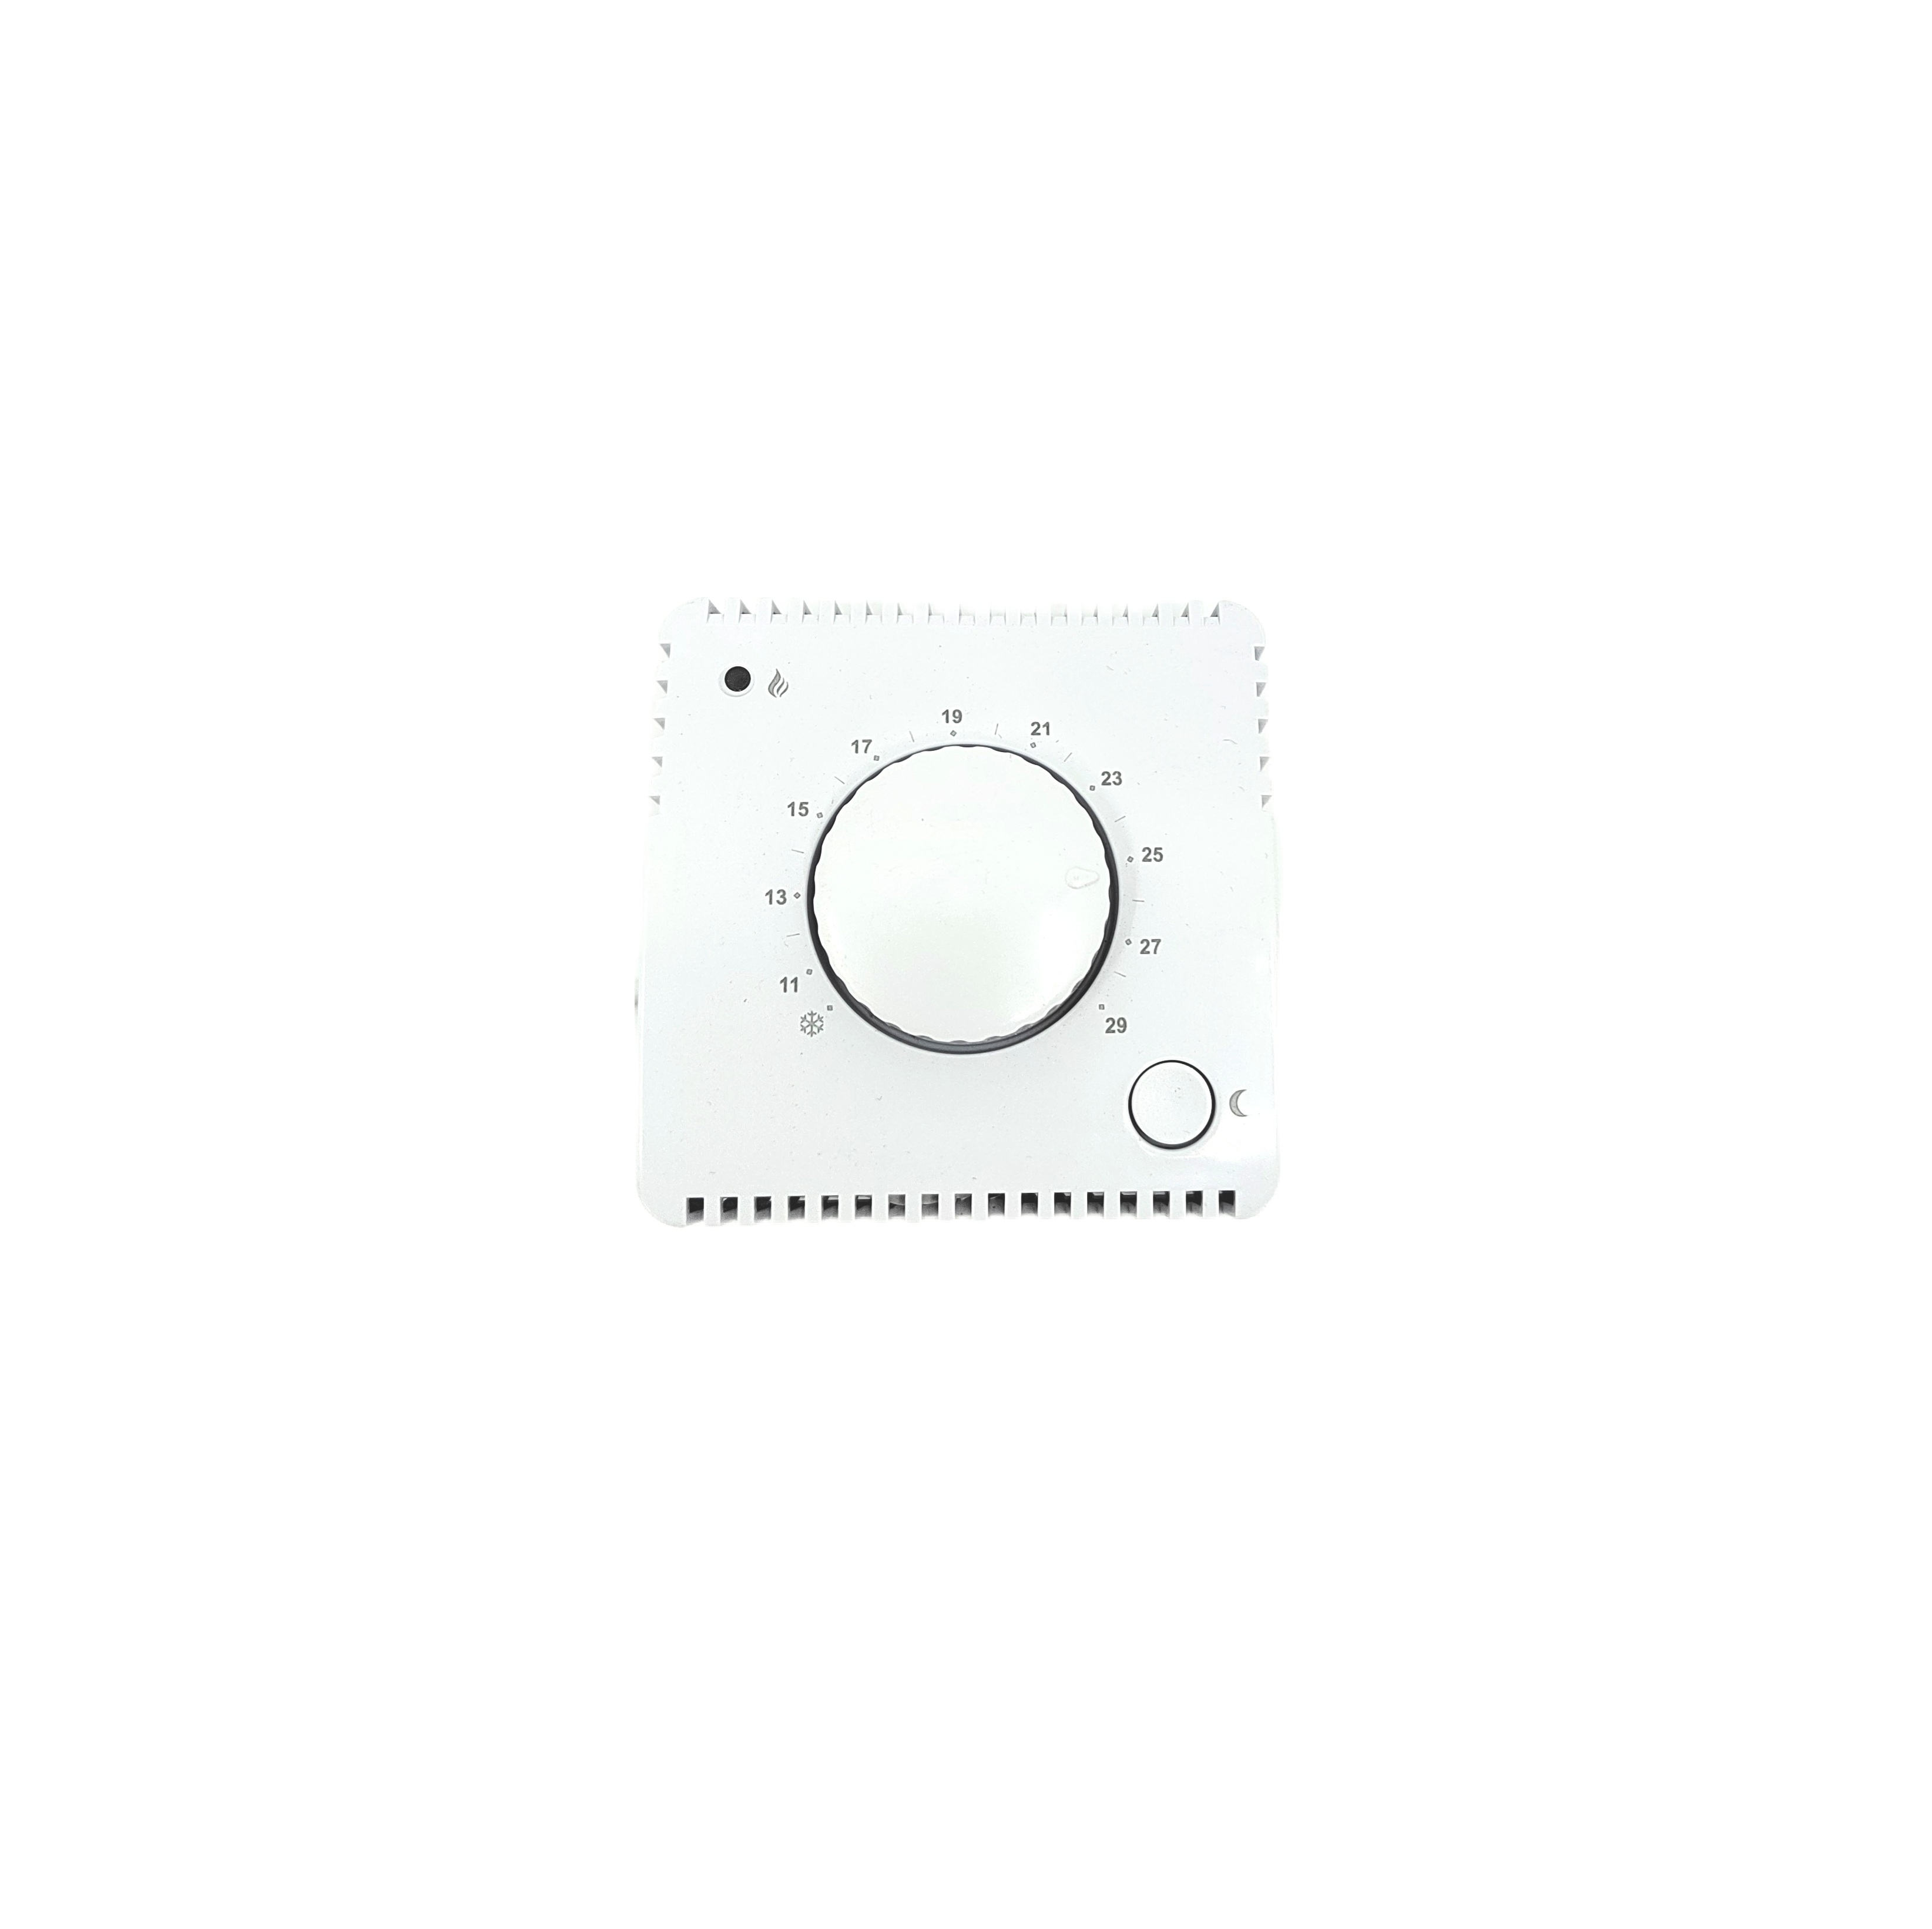
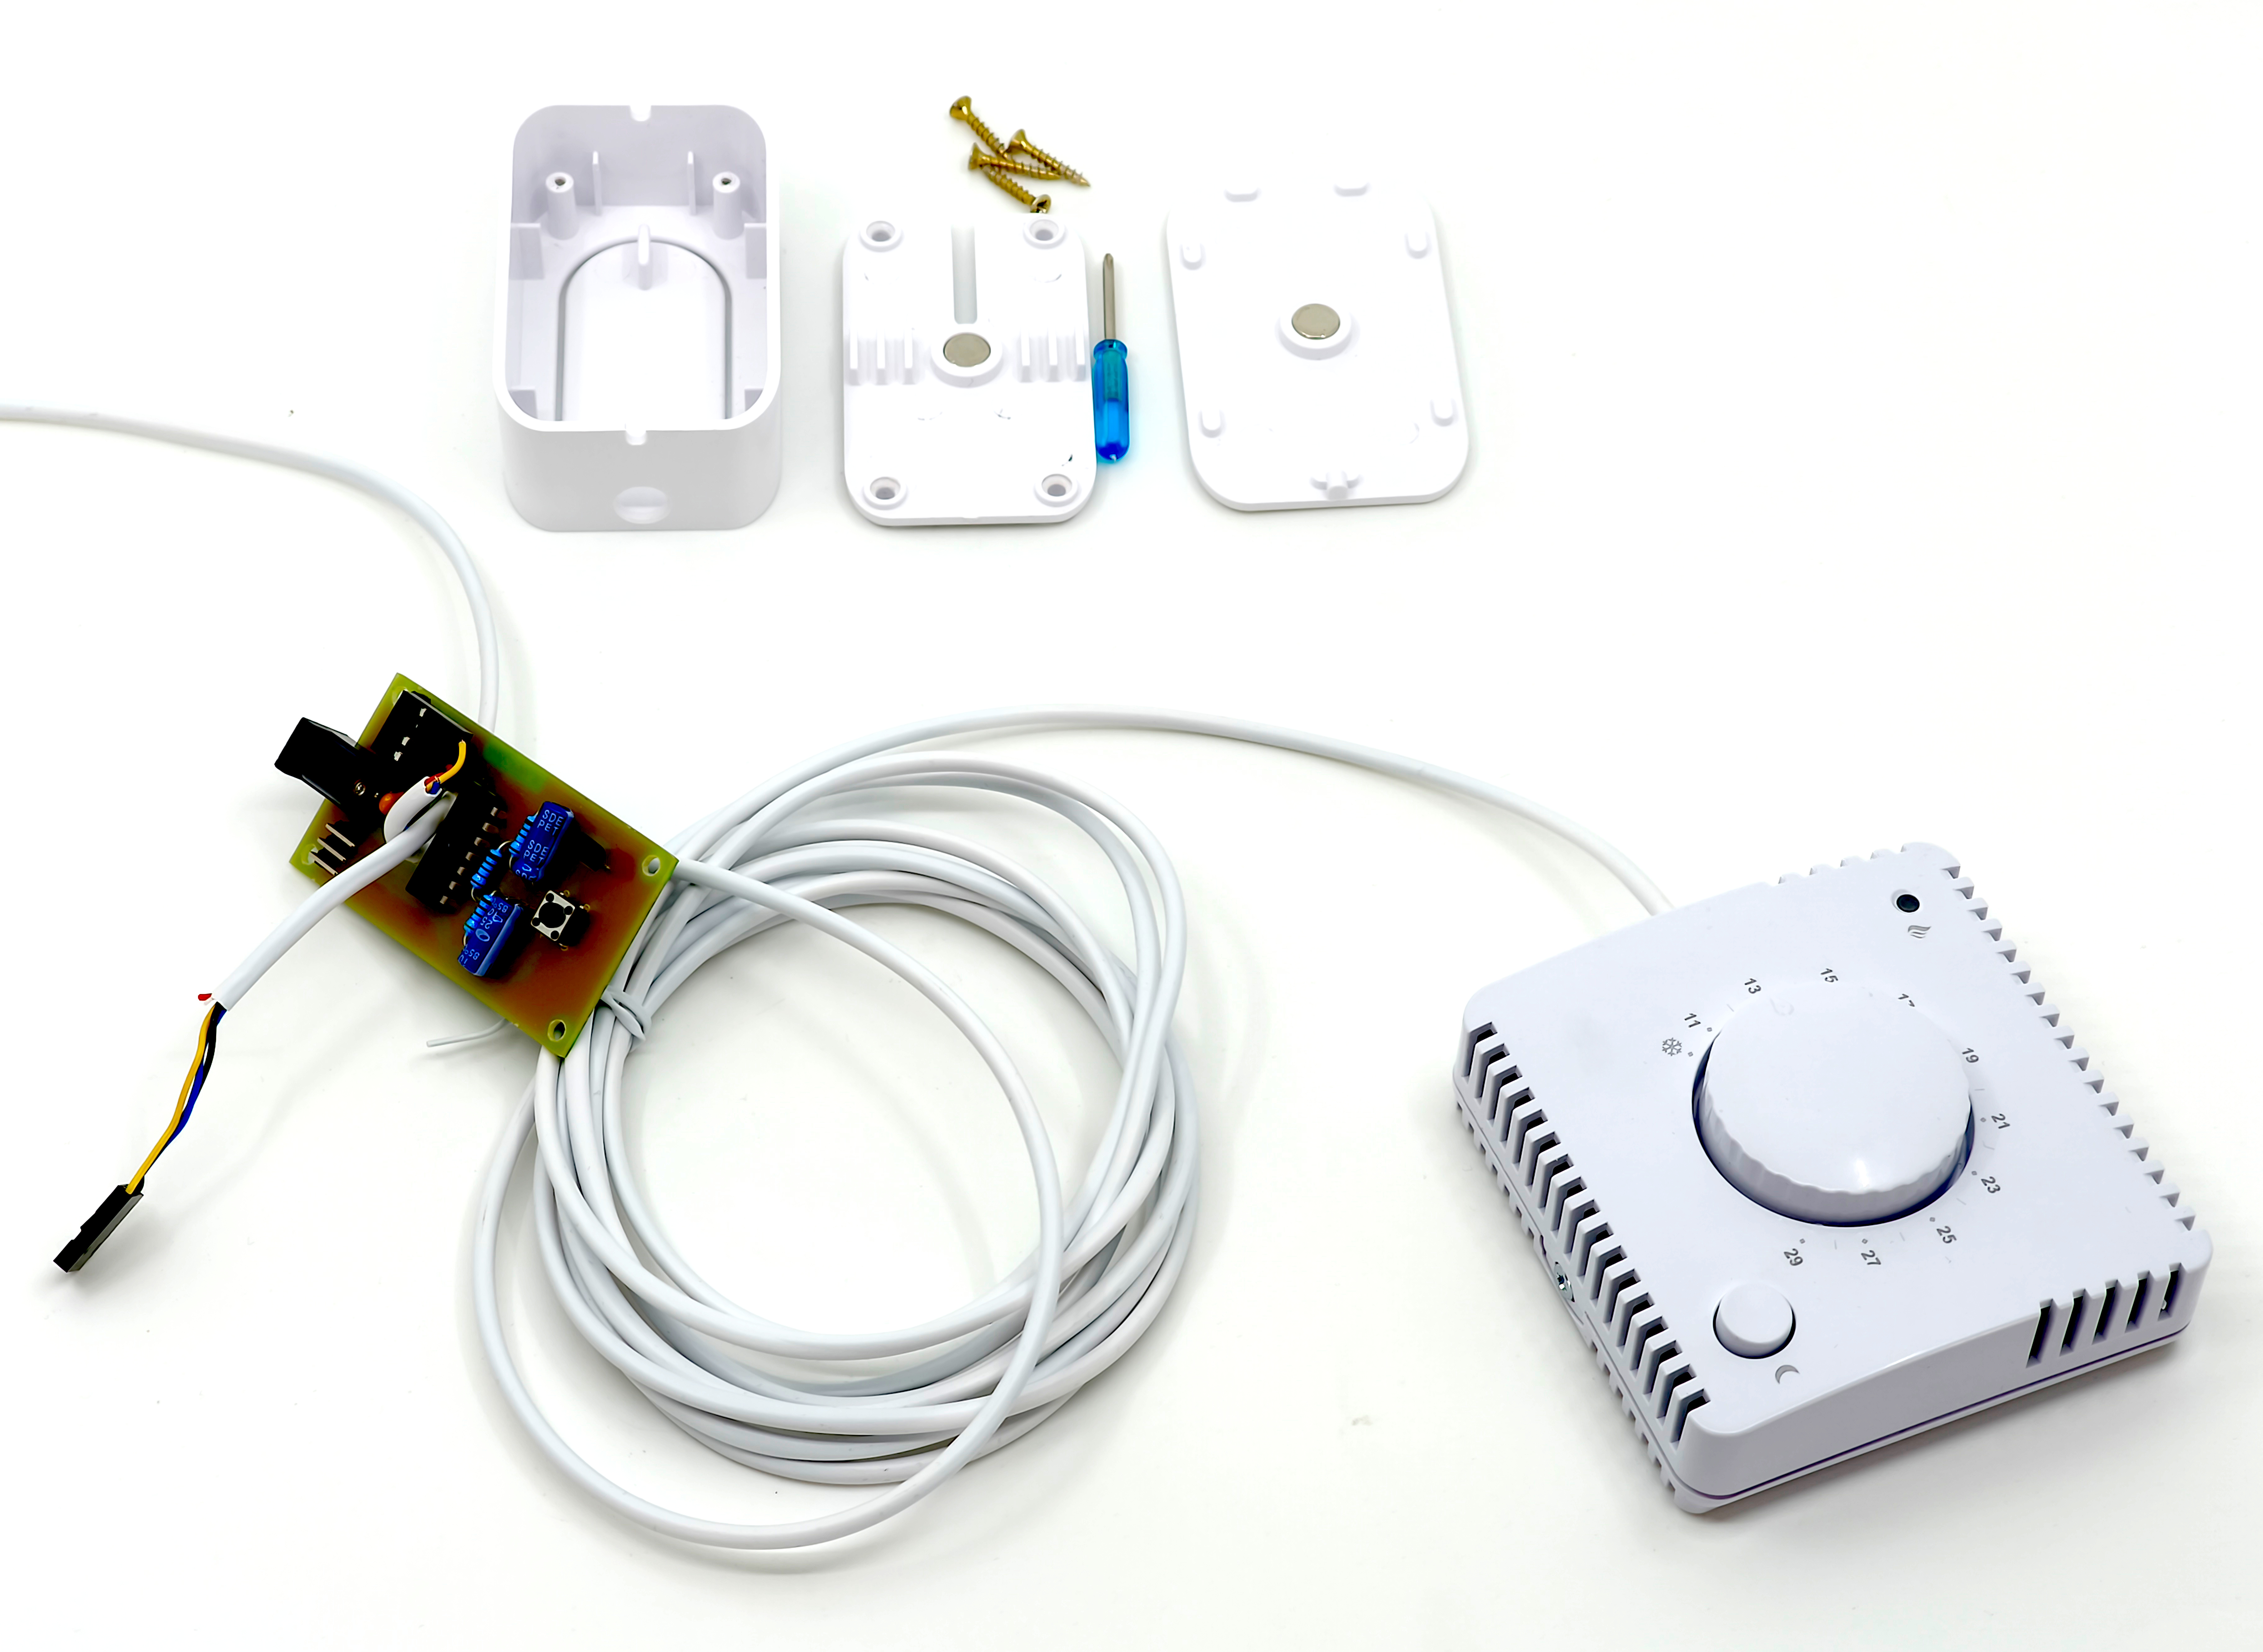
This room sensor is designed and configured to fully integrate with the Smarwi system for automated ventilation and window control. The main advantage of the thermostat is the automatic night temperature reduction function. With a single button press, you can lower the desired temperature by 3 °C for 8 hours. This cycle then repeats every day at the same time — without the need for further adjustments. This ensures a comfortable indoor environment during the day and energy savings at night.
Safe and Simple Power Supply
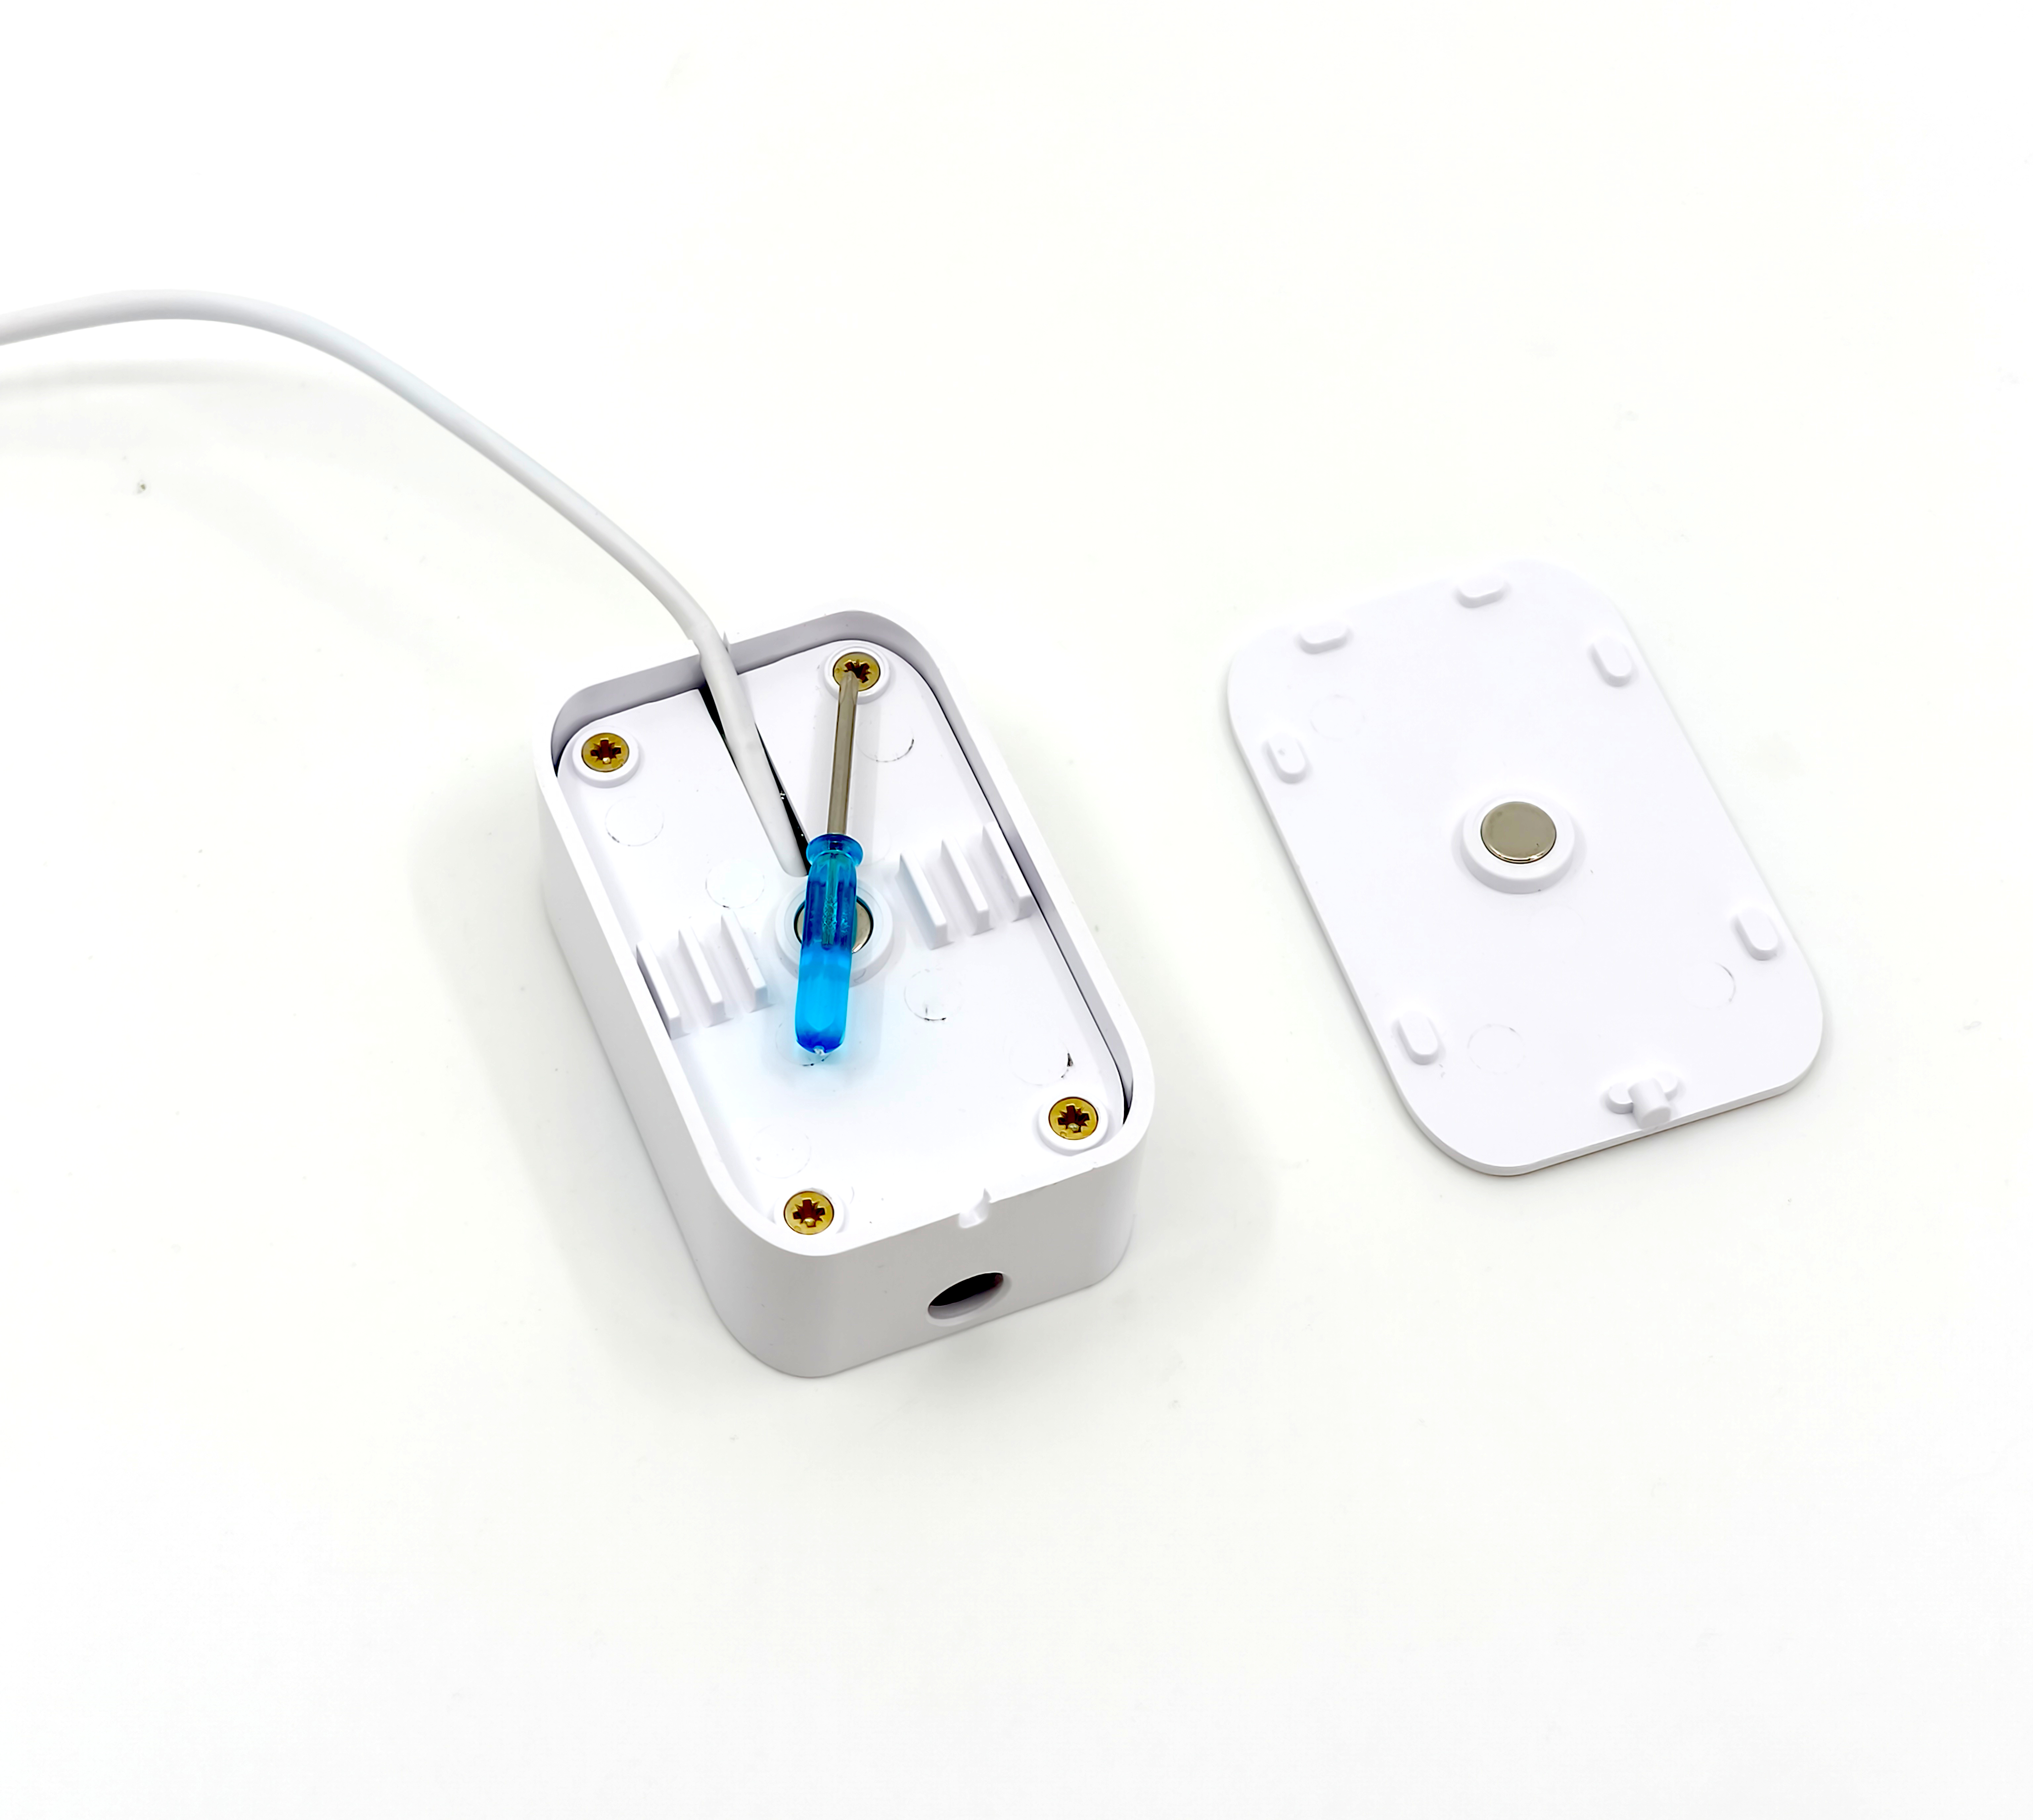
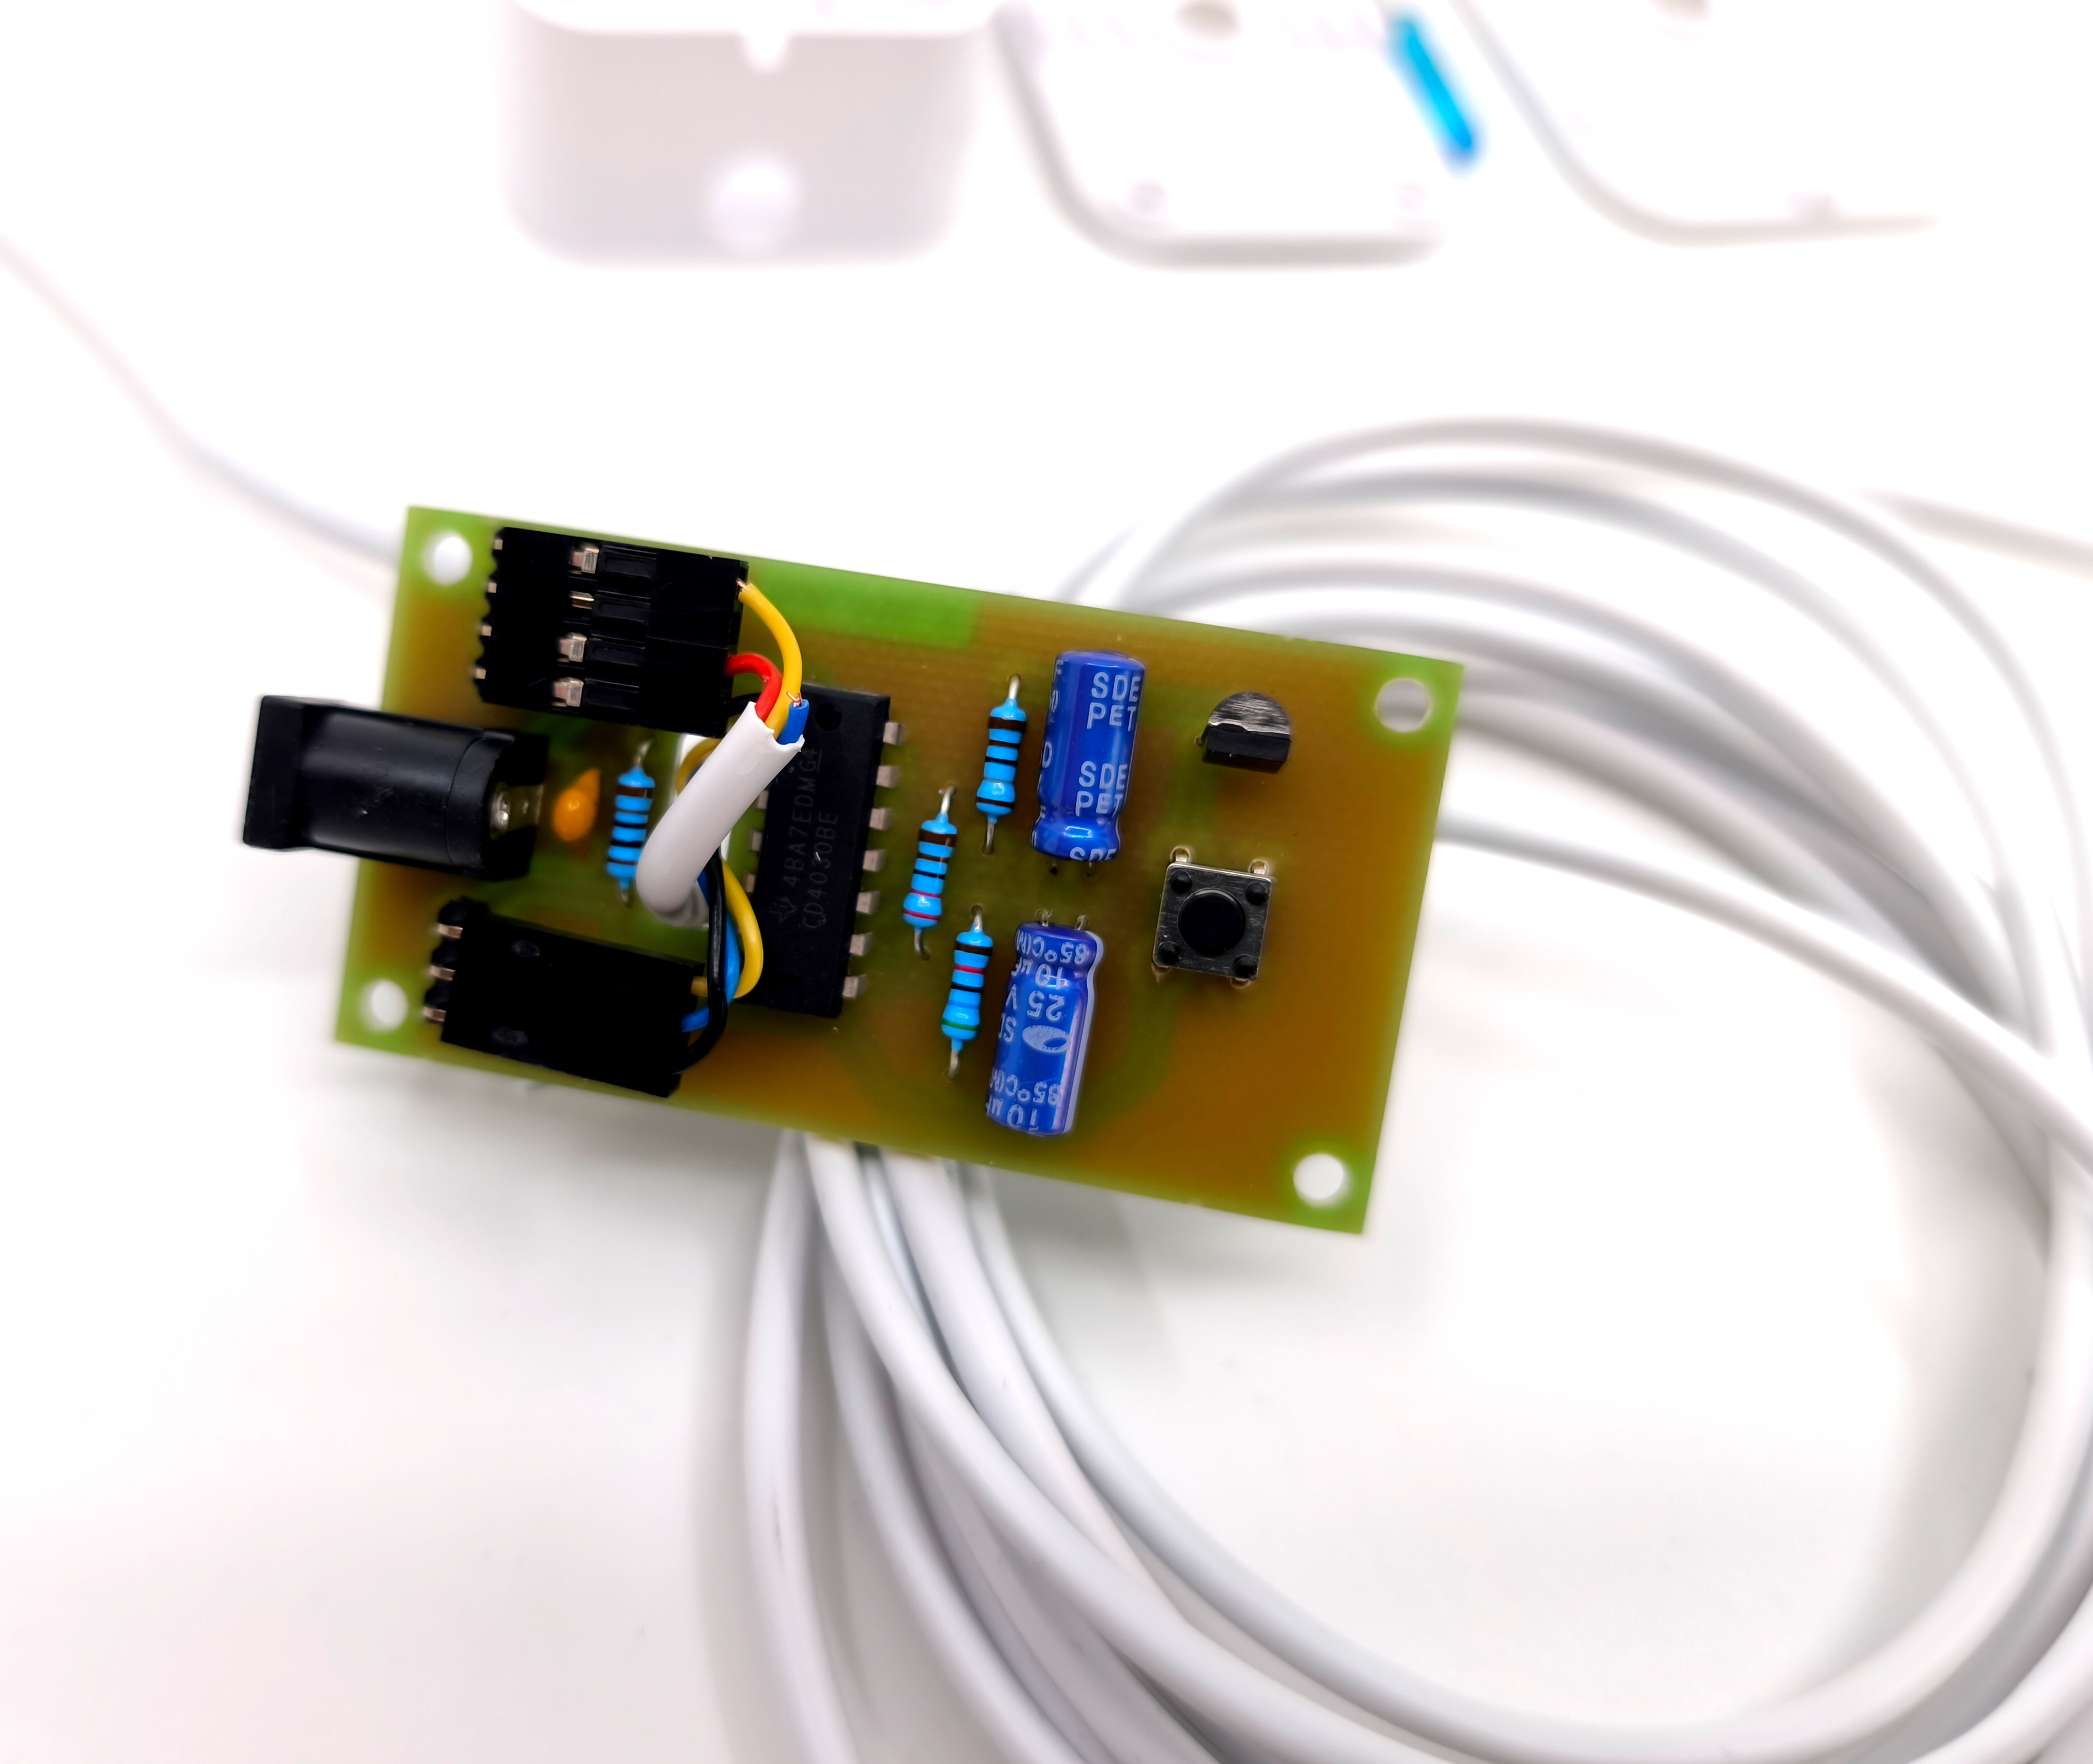
Our sensor can be powered directly from the Smarwi 12 V DC power source.
- No separate socket required
- No handling of 230 V mains voltage
- Installation can be easily done without professional qualification
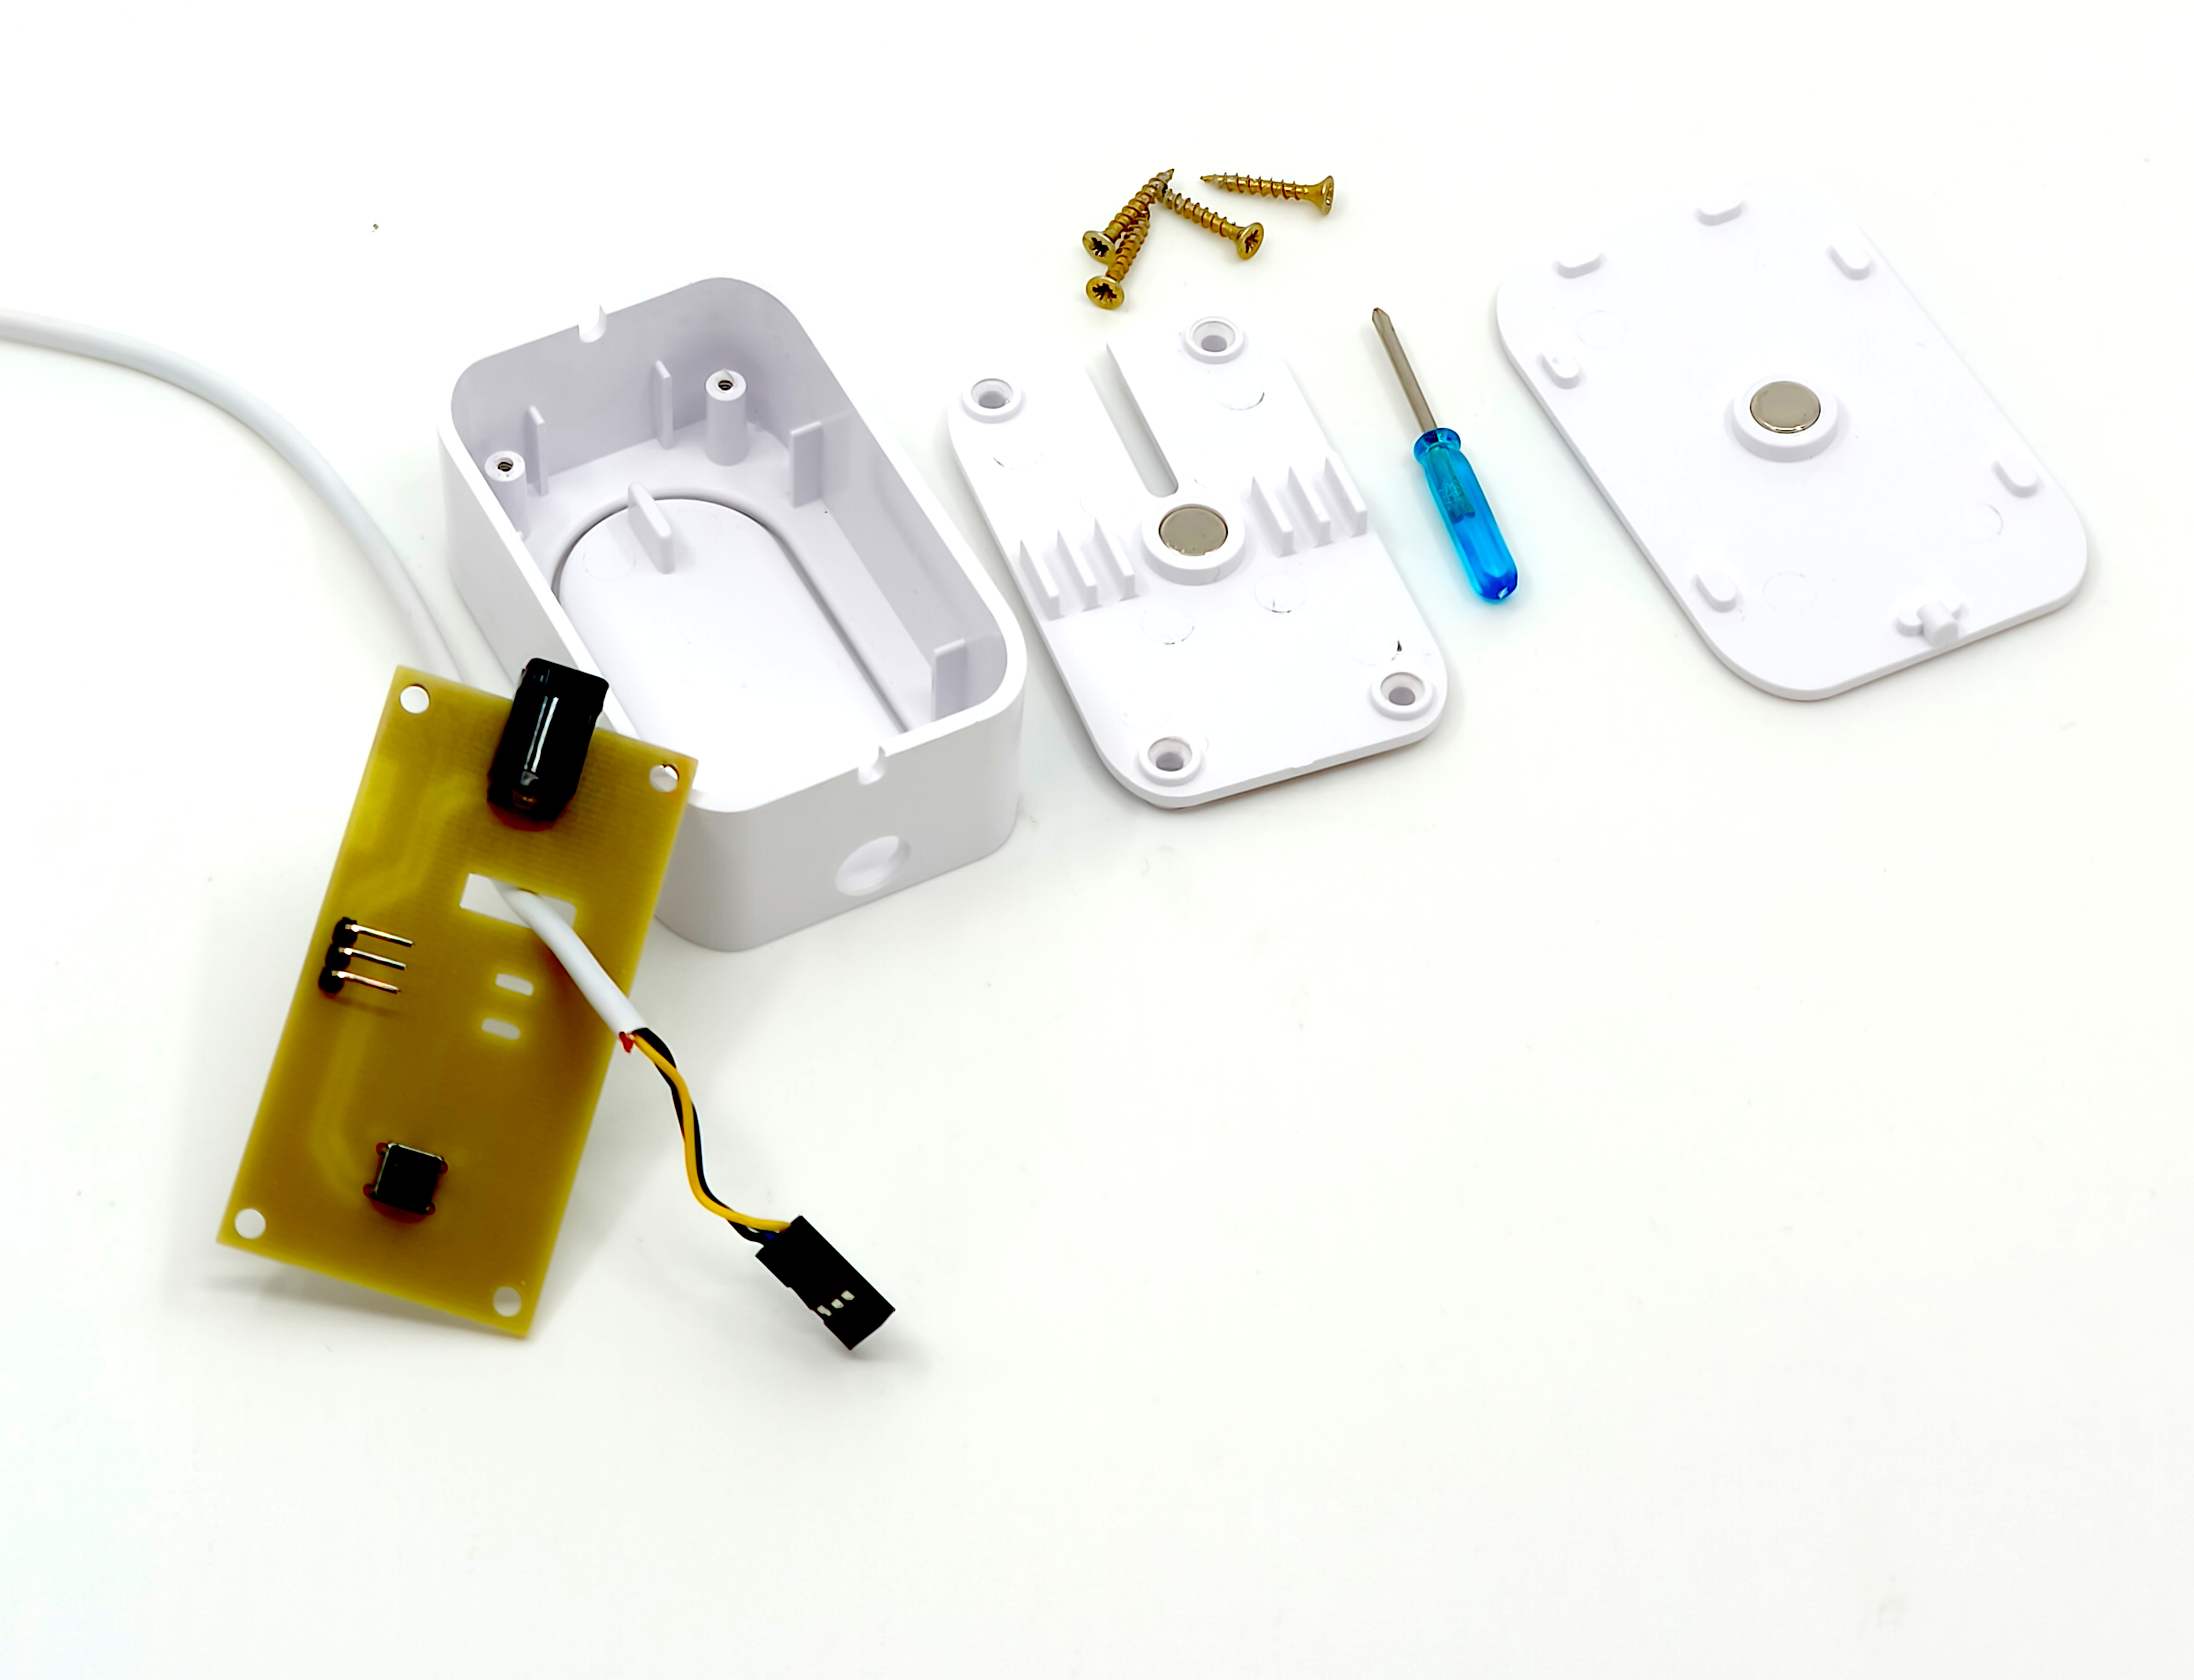
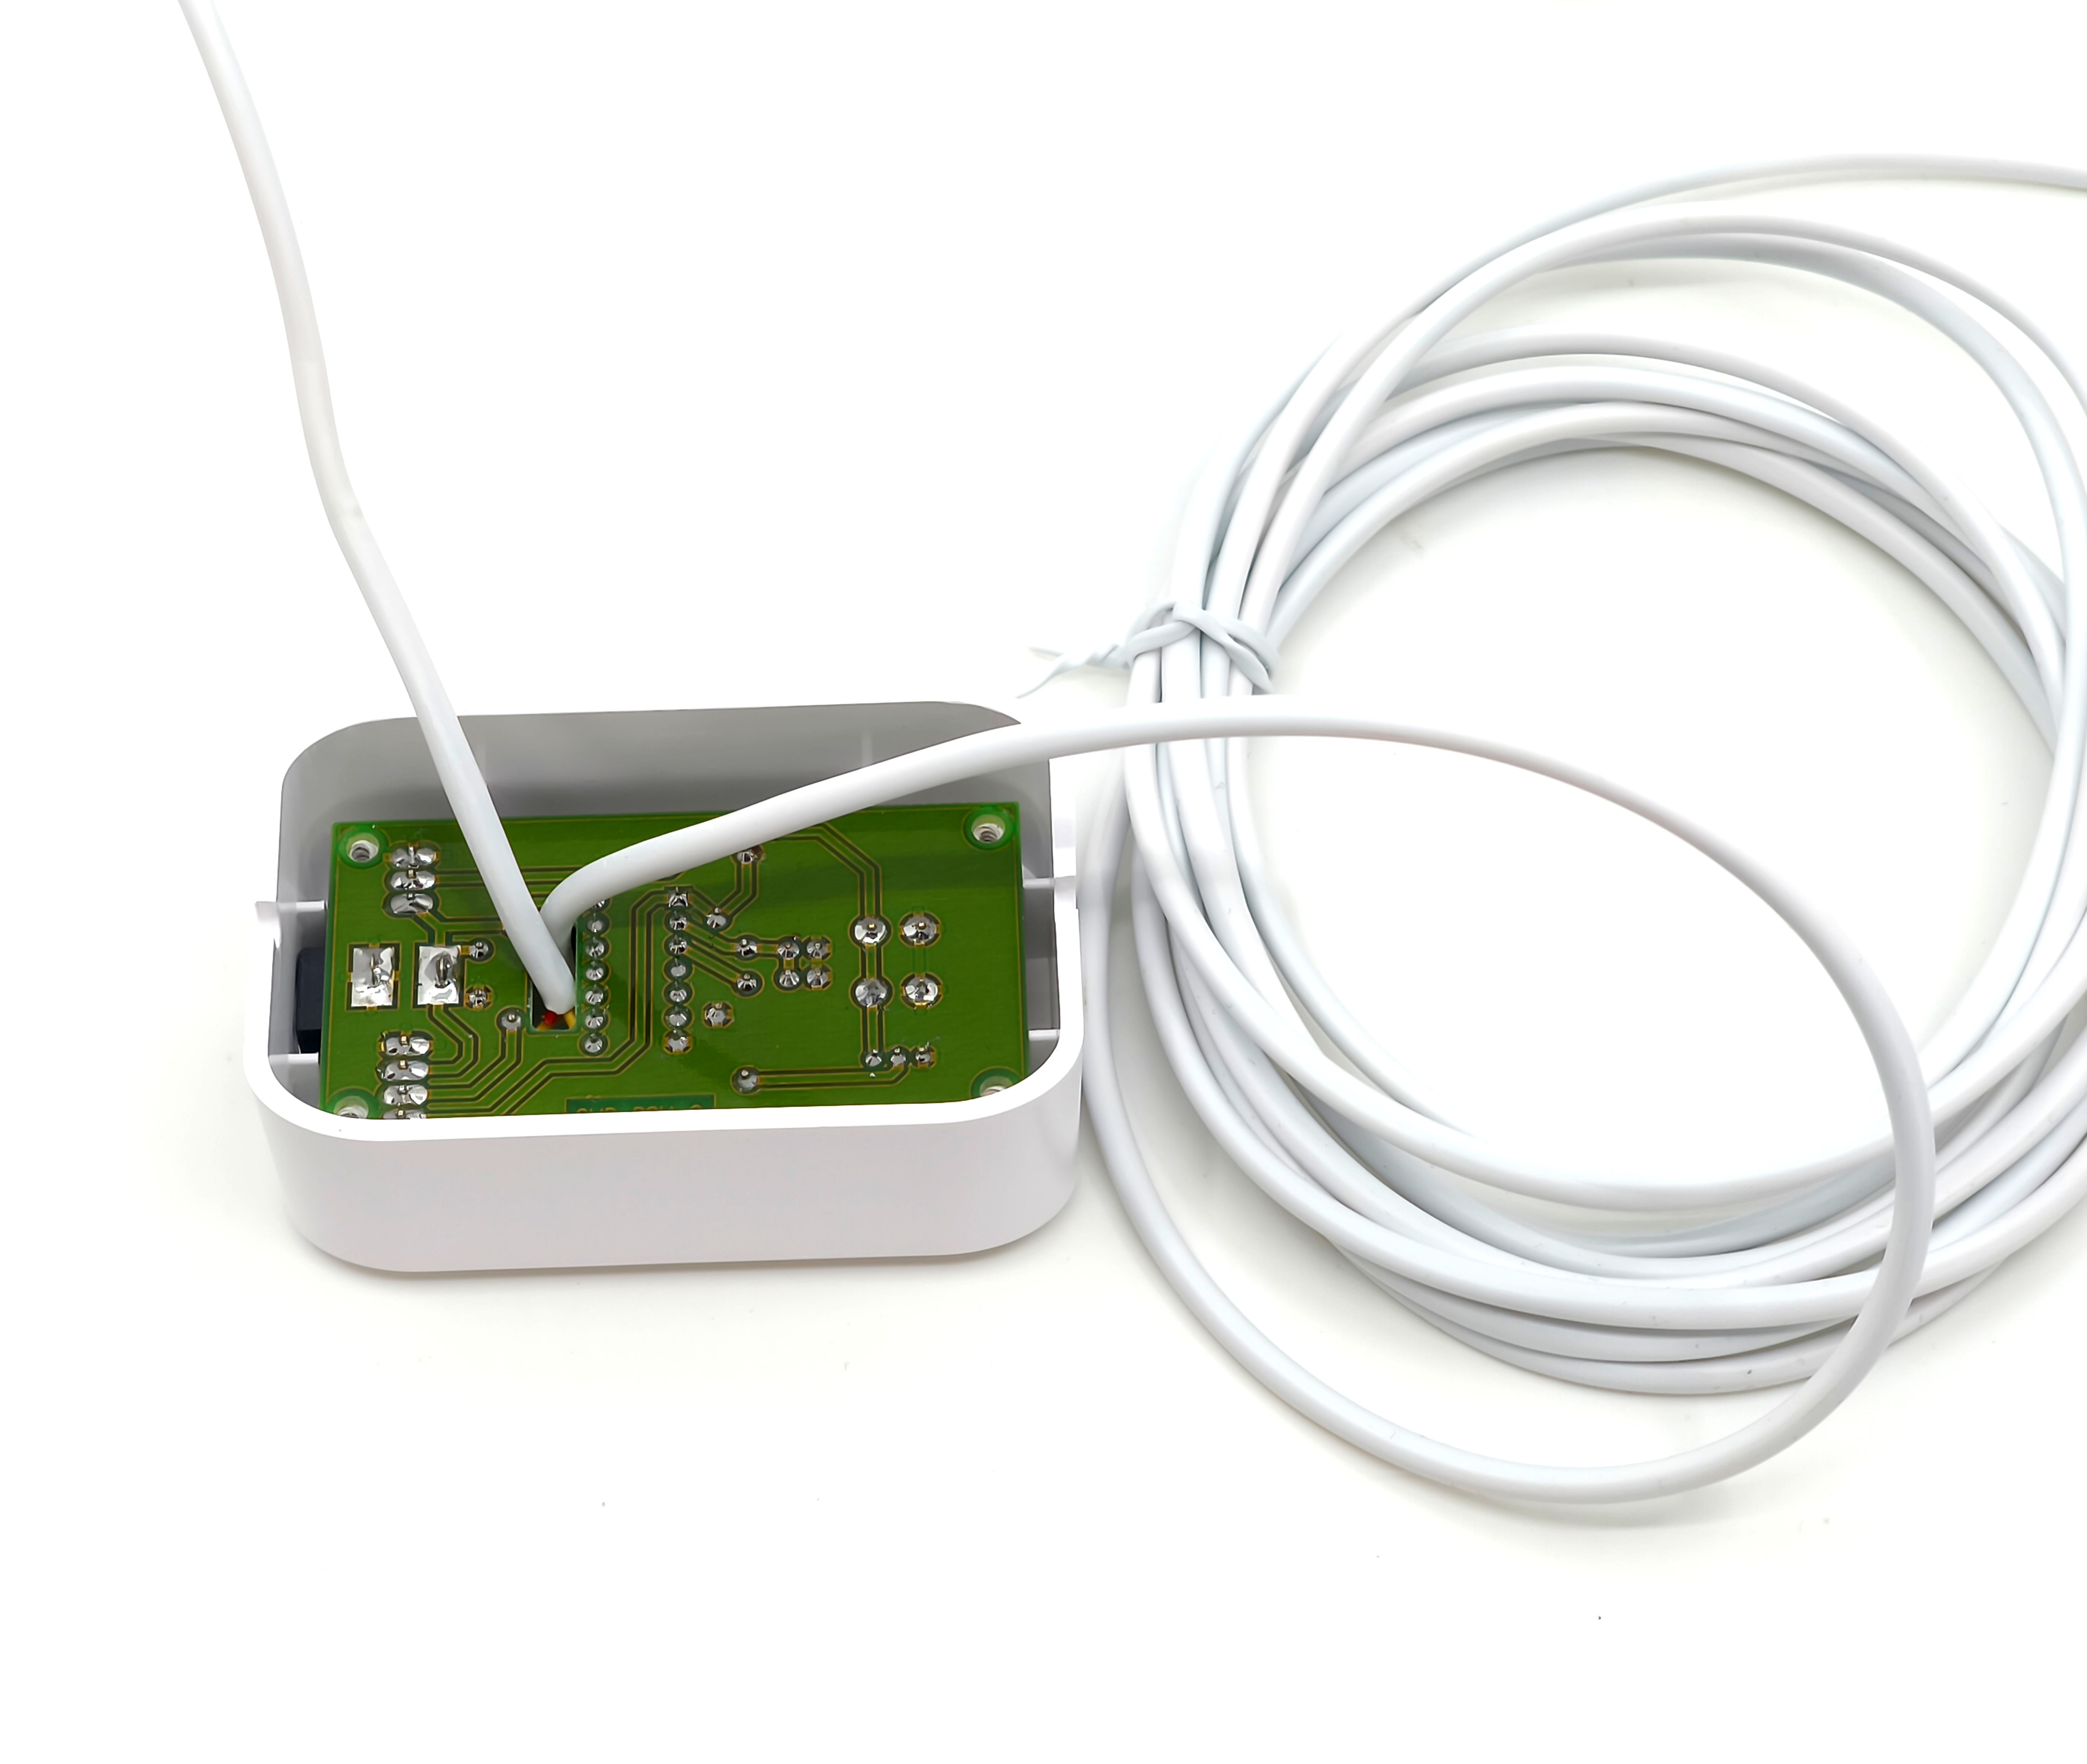
Both power and signal connections are provided through a single shared cable.
How Many Sensors Can Be Connected?
Only one sensor can be connected to the Smarwi system at a time. Choose the one most suitable for your home. It is not possible to use multiple sensors simultaneously.
Advantages of the Integrated Solution
- Safe low-voltage connection
- Automatic night setback – the desired temperature is reduced for 8 hours, and the cycle repeats daily at the same time
- Automatic air temperature control
- Direct connection with the Smarwi control button
- Manual ventilation activation by pressing the button on the sensor
- Discreet design suitable for residential spaces
Technical Specifications
- Power Supply: 12 V DC
- Power Consumption:<1 W (0.5 W)
- Hysteresis: 0.3 °C
- Adjustable Temperature Range: 11 – 29 °C
- Temperature Setting: in 0.5 °C increments
- Operating Temperature: 0 – 40 °C


")