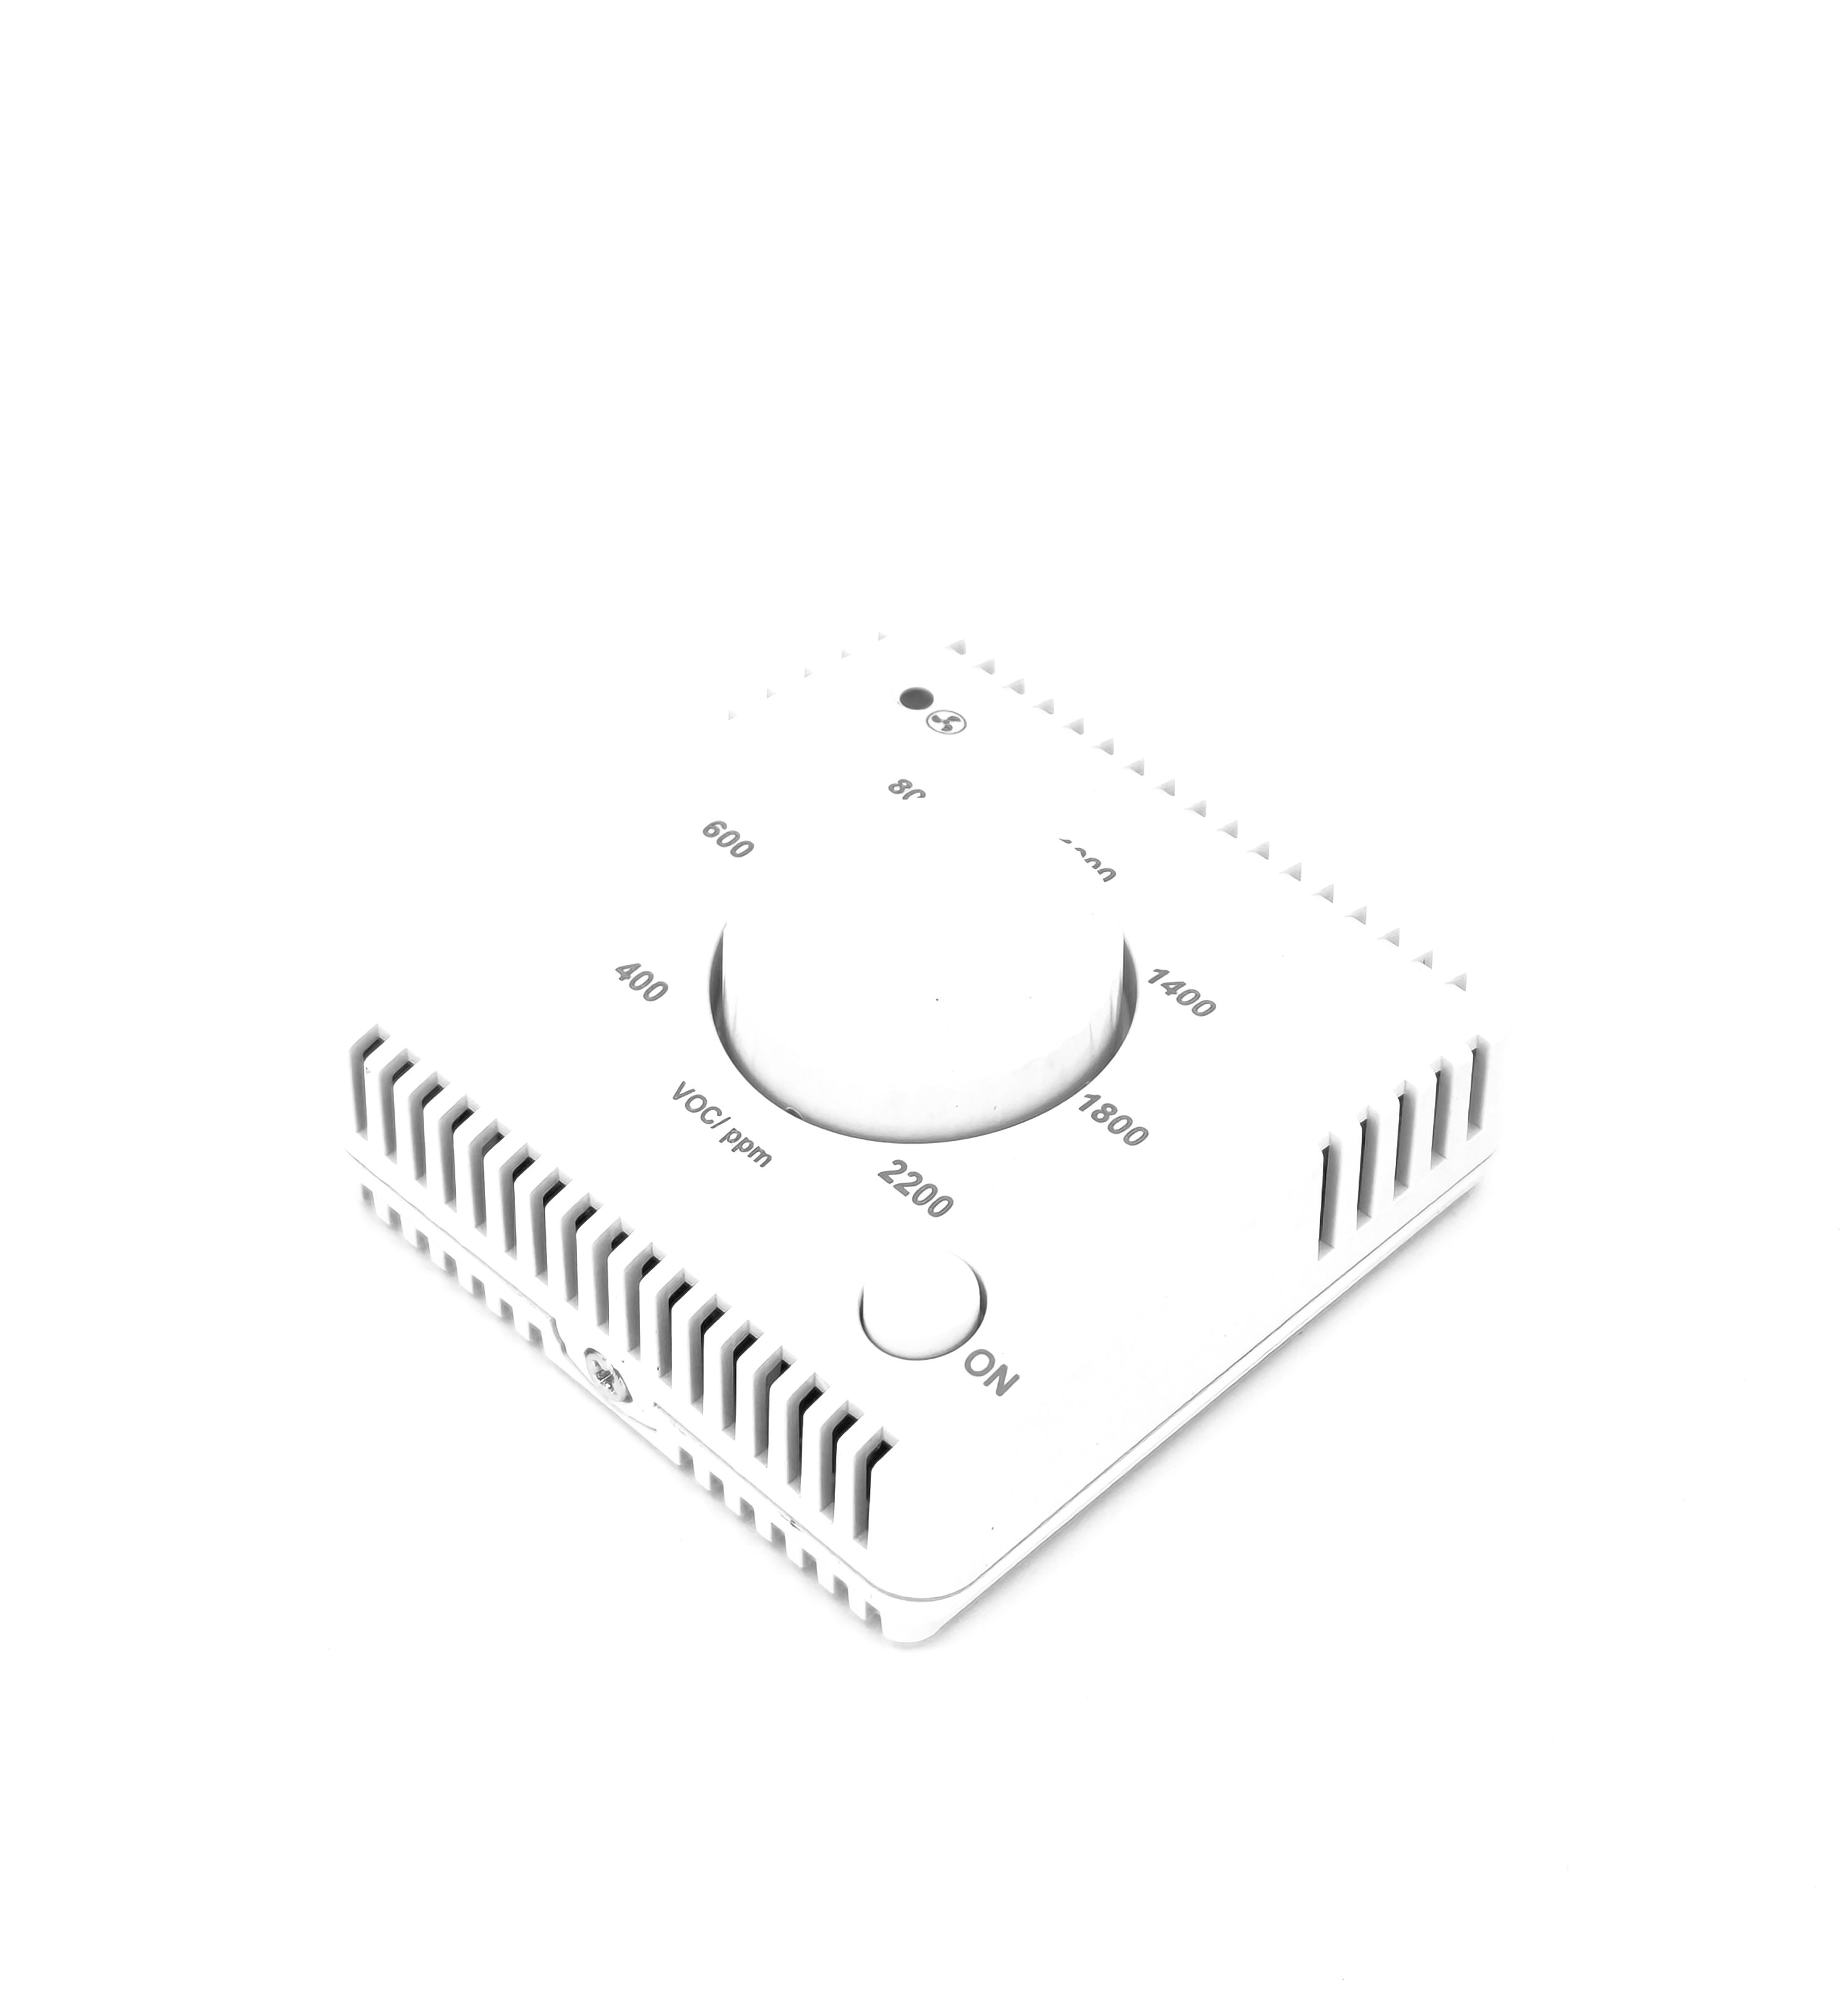
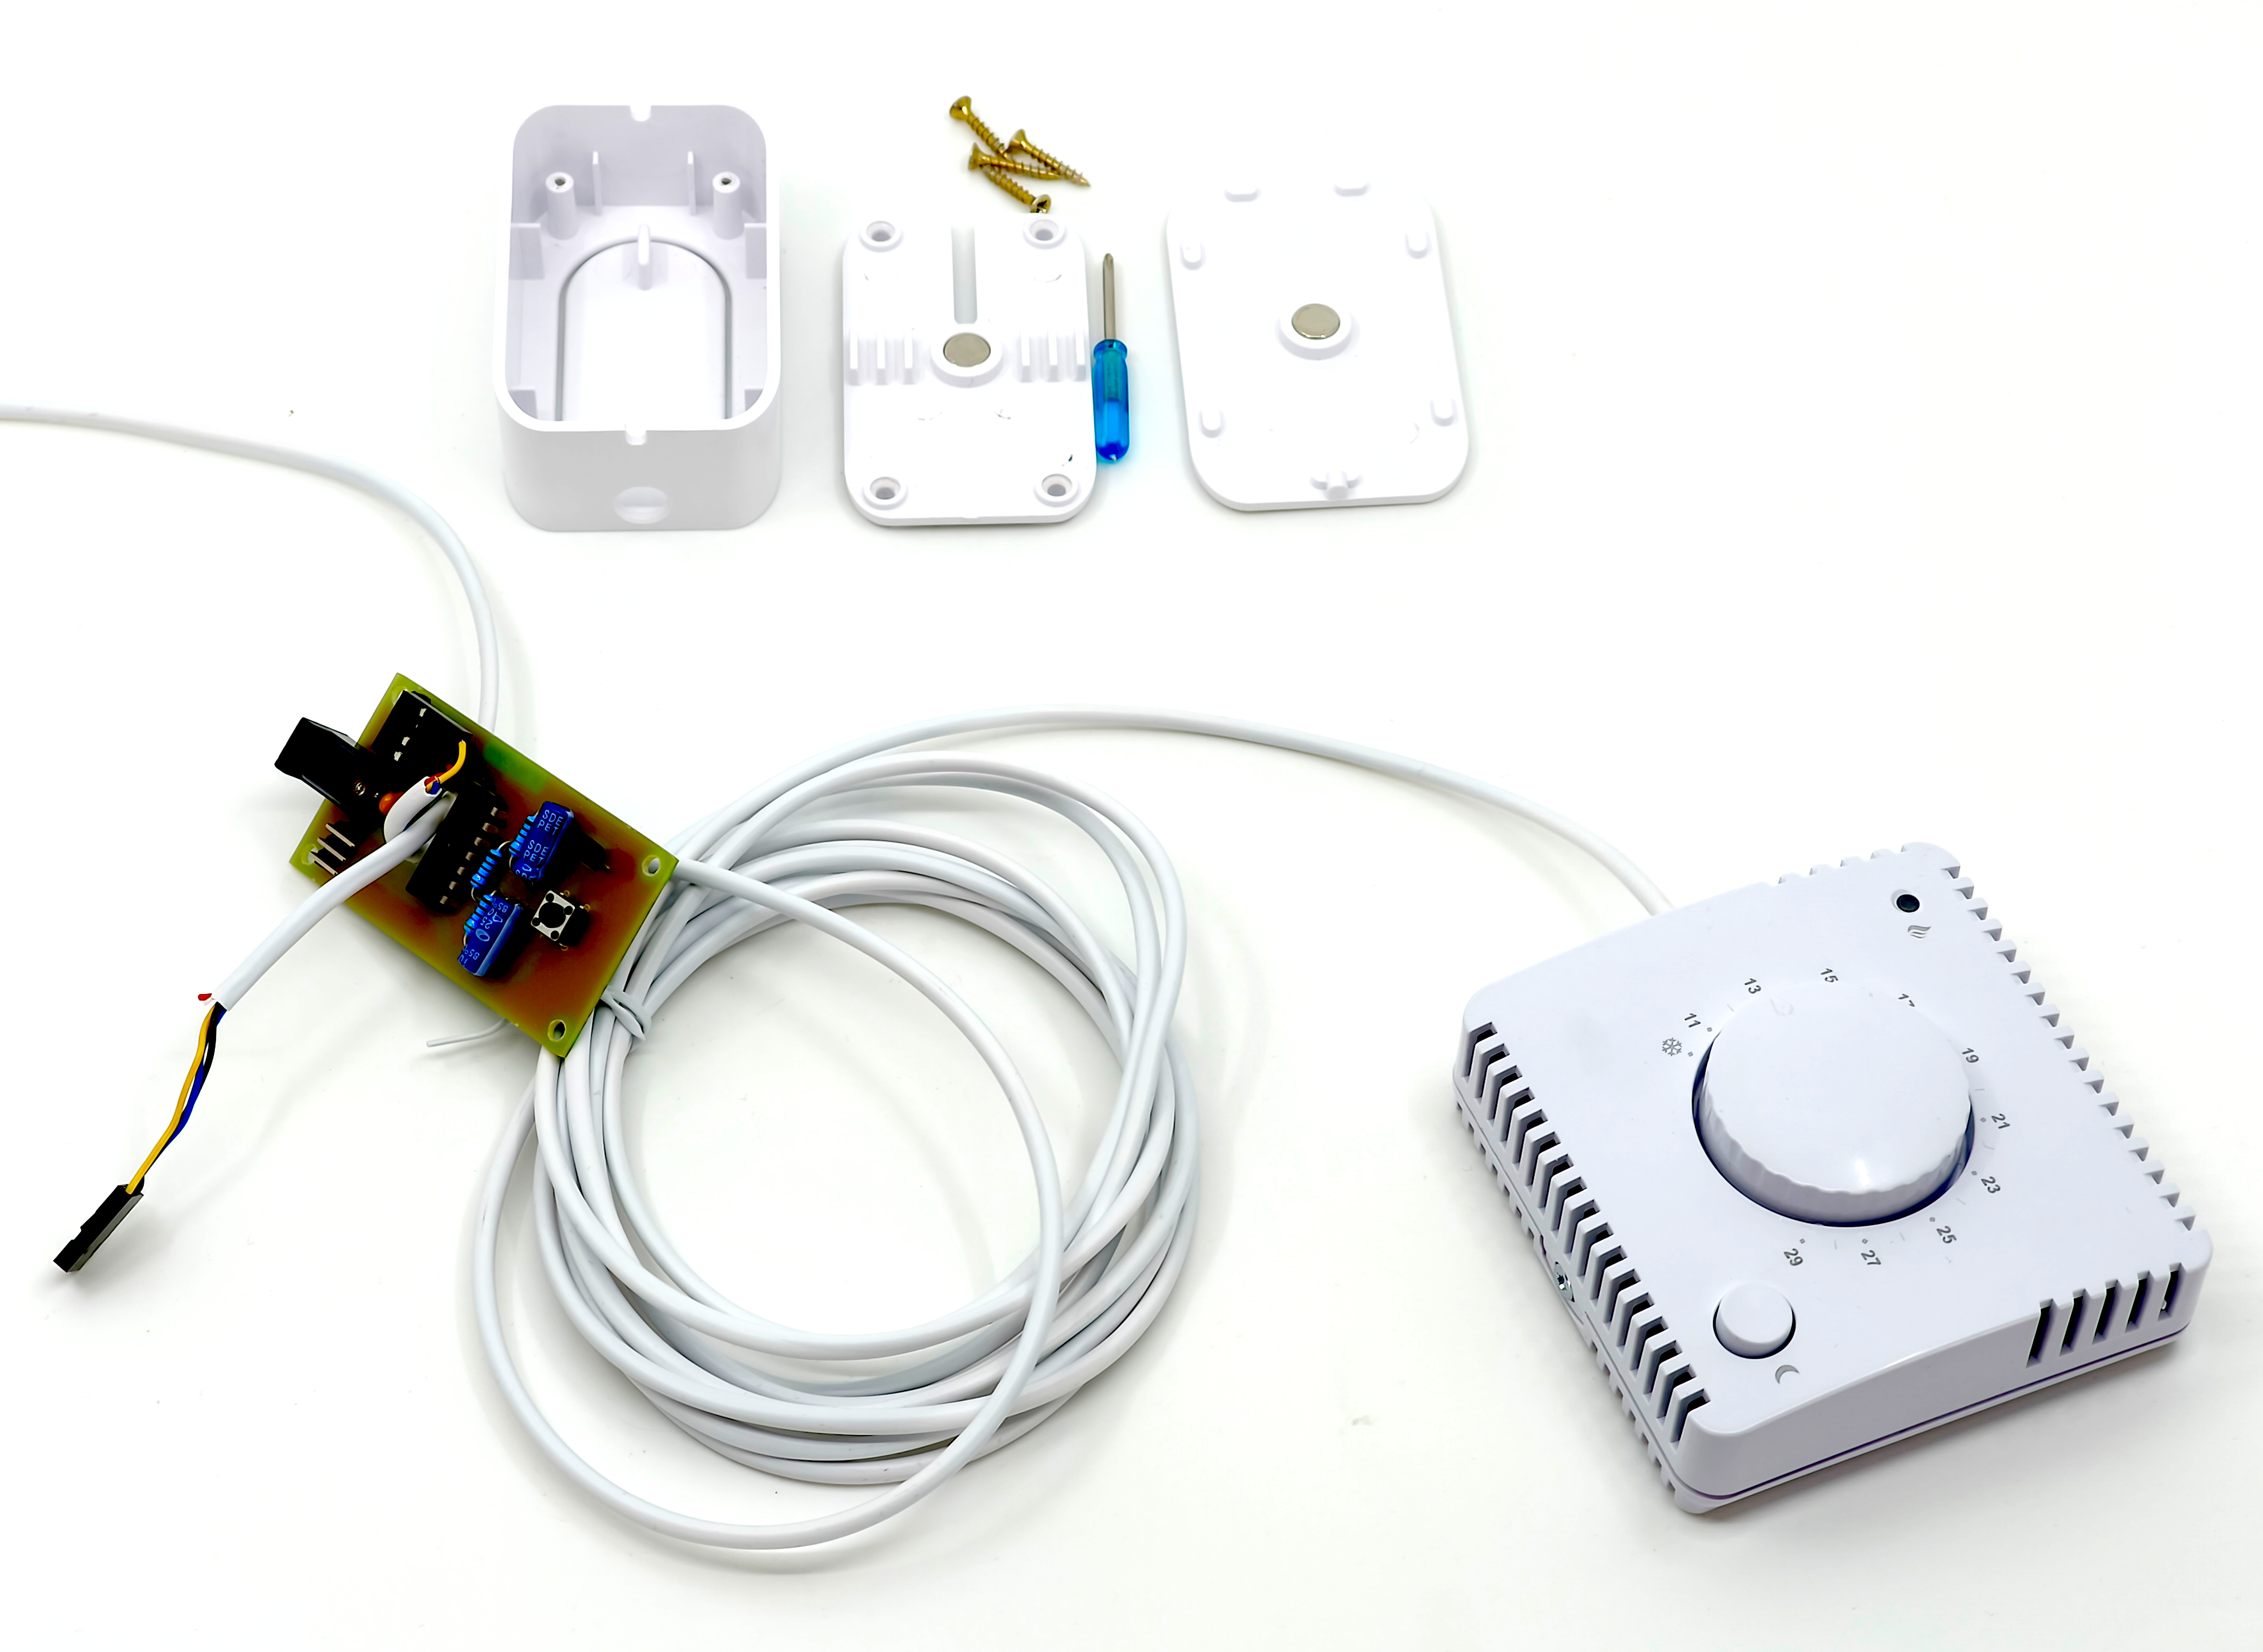
Indoor Air Quality Control
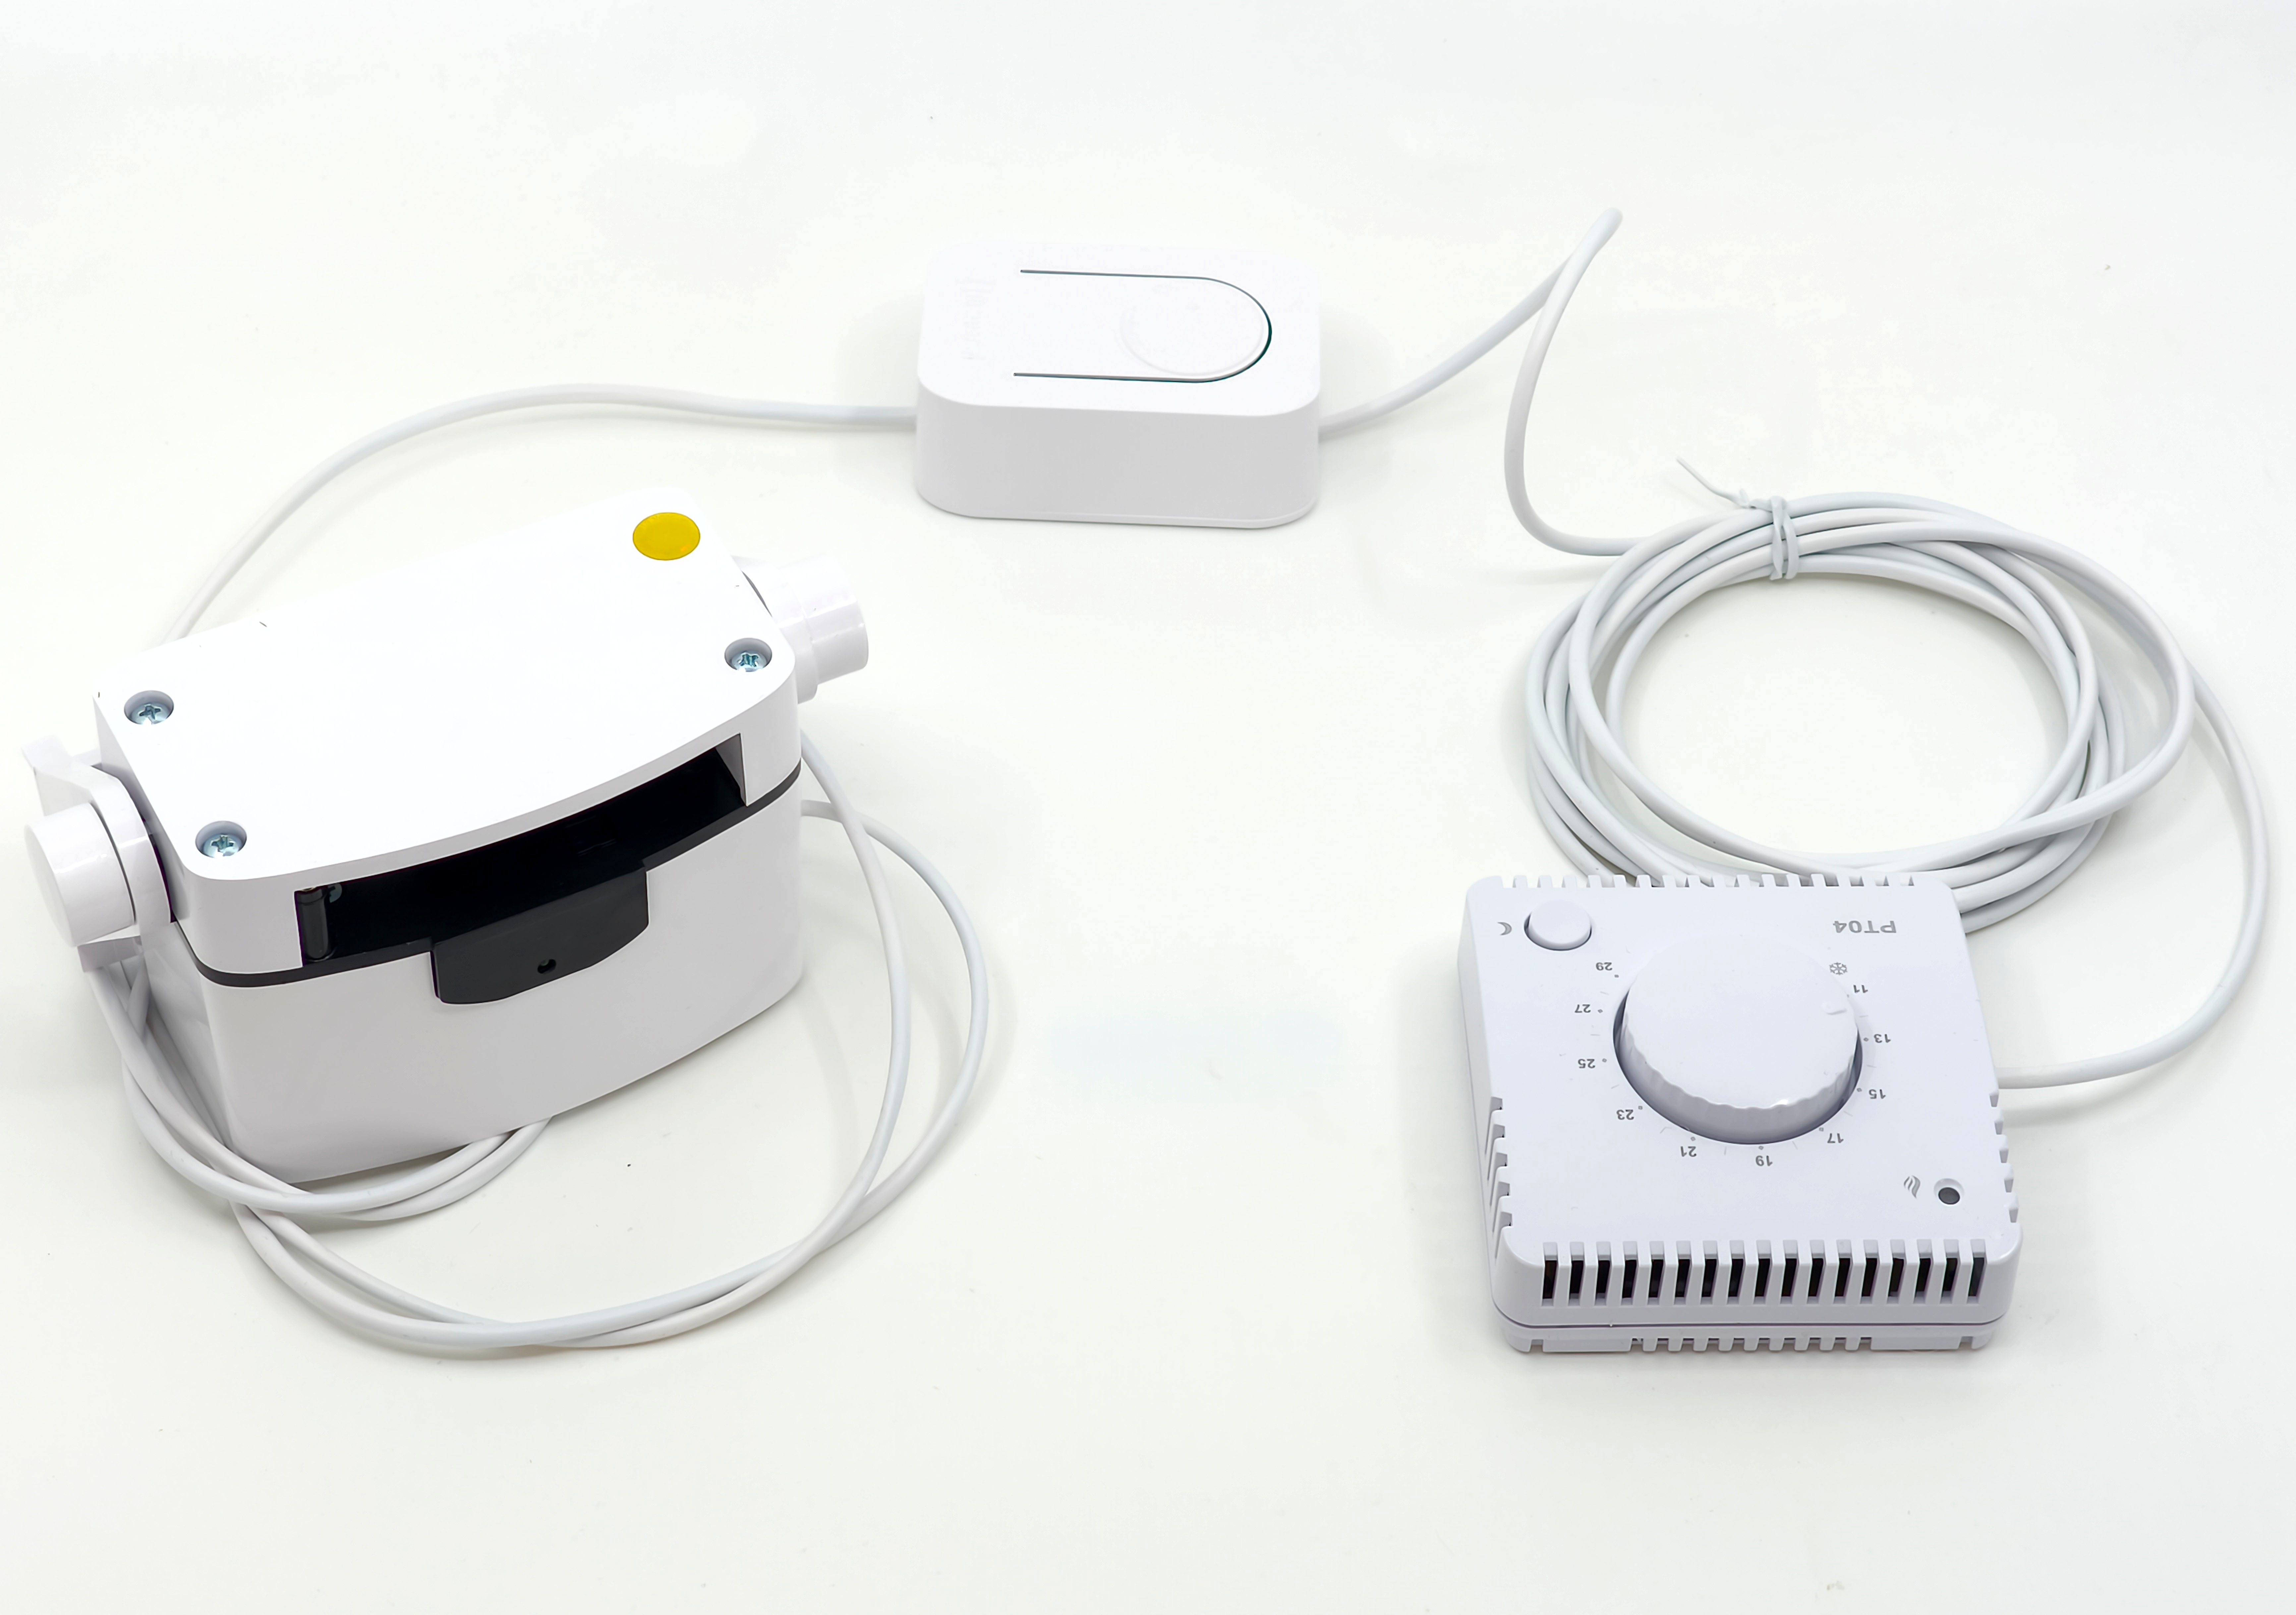
This room sensor is designed and configured to fully integrate with the Smarwi system for automated ventilation and window control. It is equipped with a sensor that monitors gas concentrations related to indoor air quality. When the set limits are exceeded, the sensor automatically sends a signal to the Smarwi controller, which opens the window to improve ventilation.
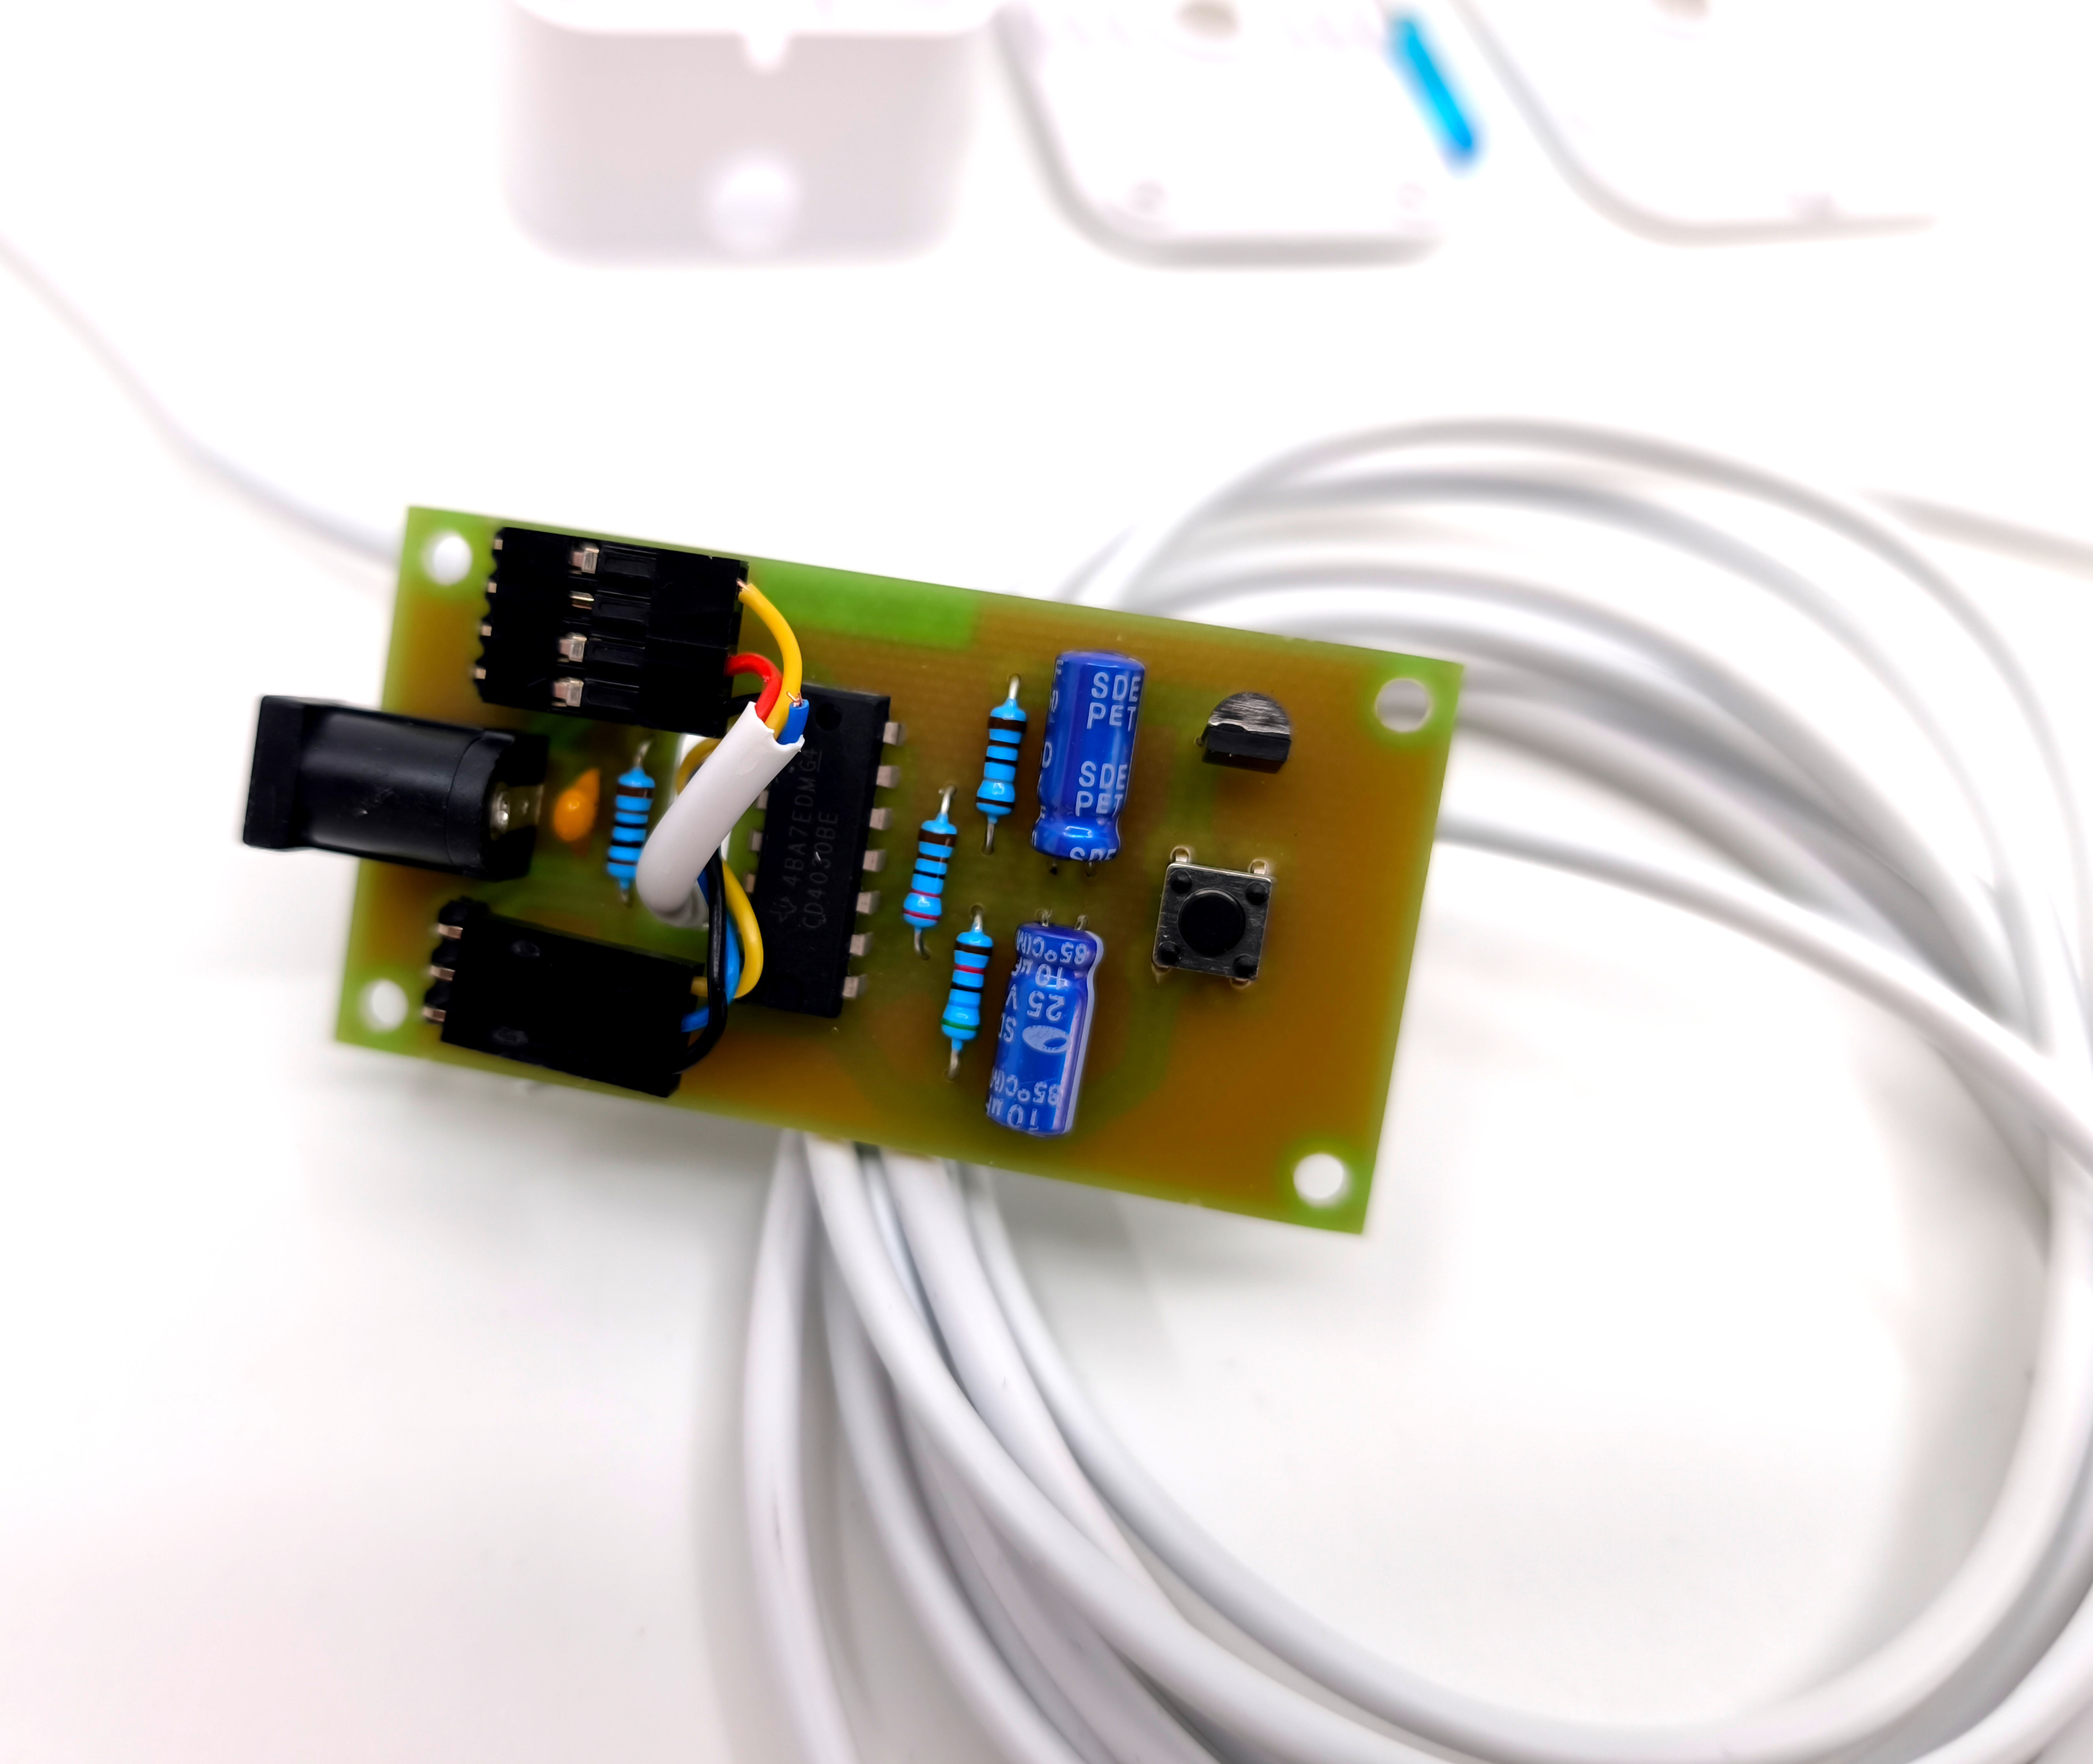
The sensor features an auto-calibration function that automatically compensates for measurement deviations and component aging over time, ensuring long-term accuracy during operation.
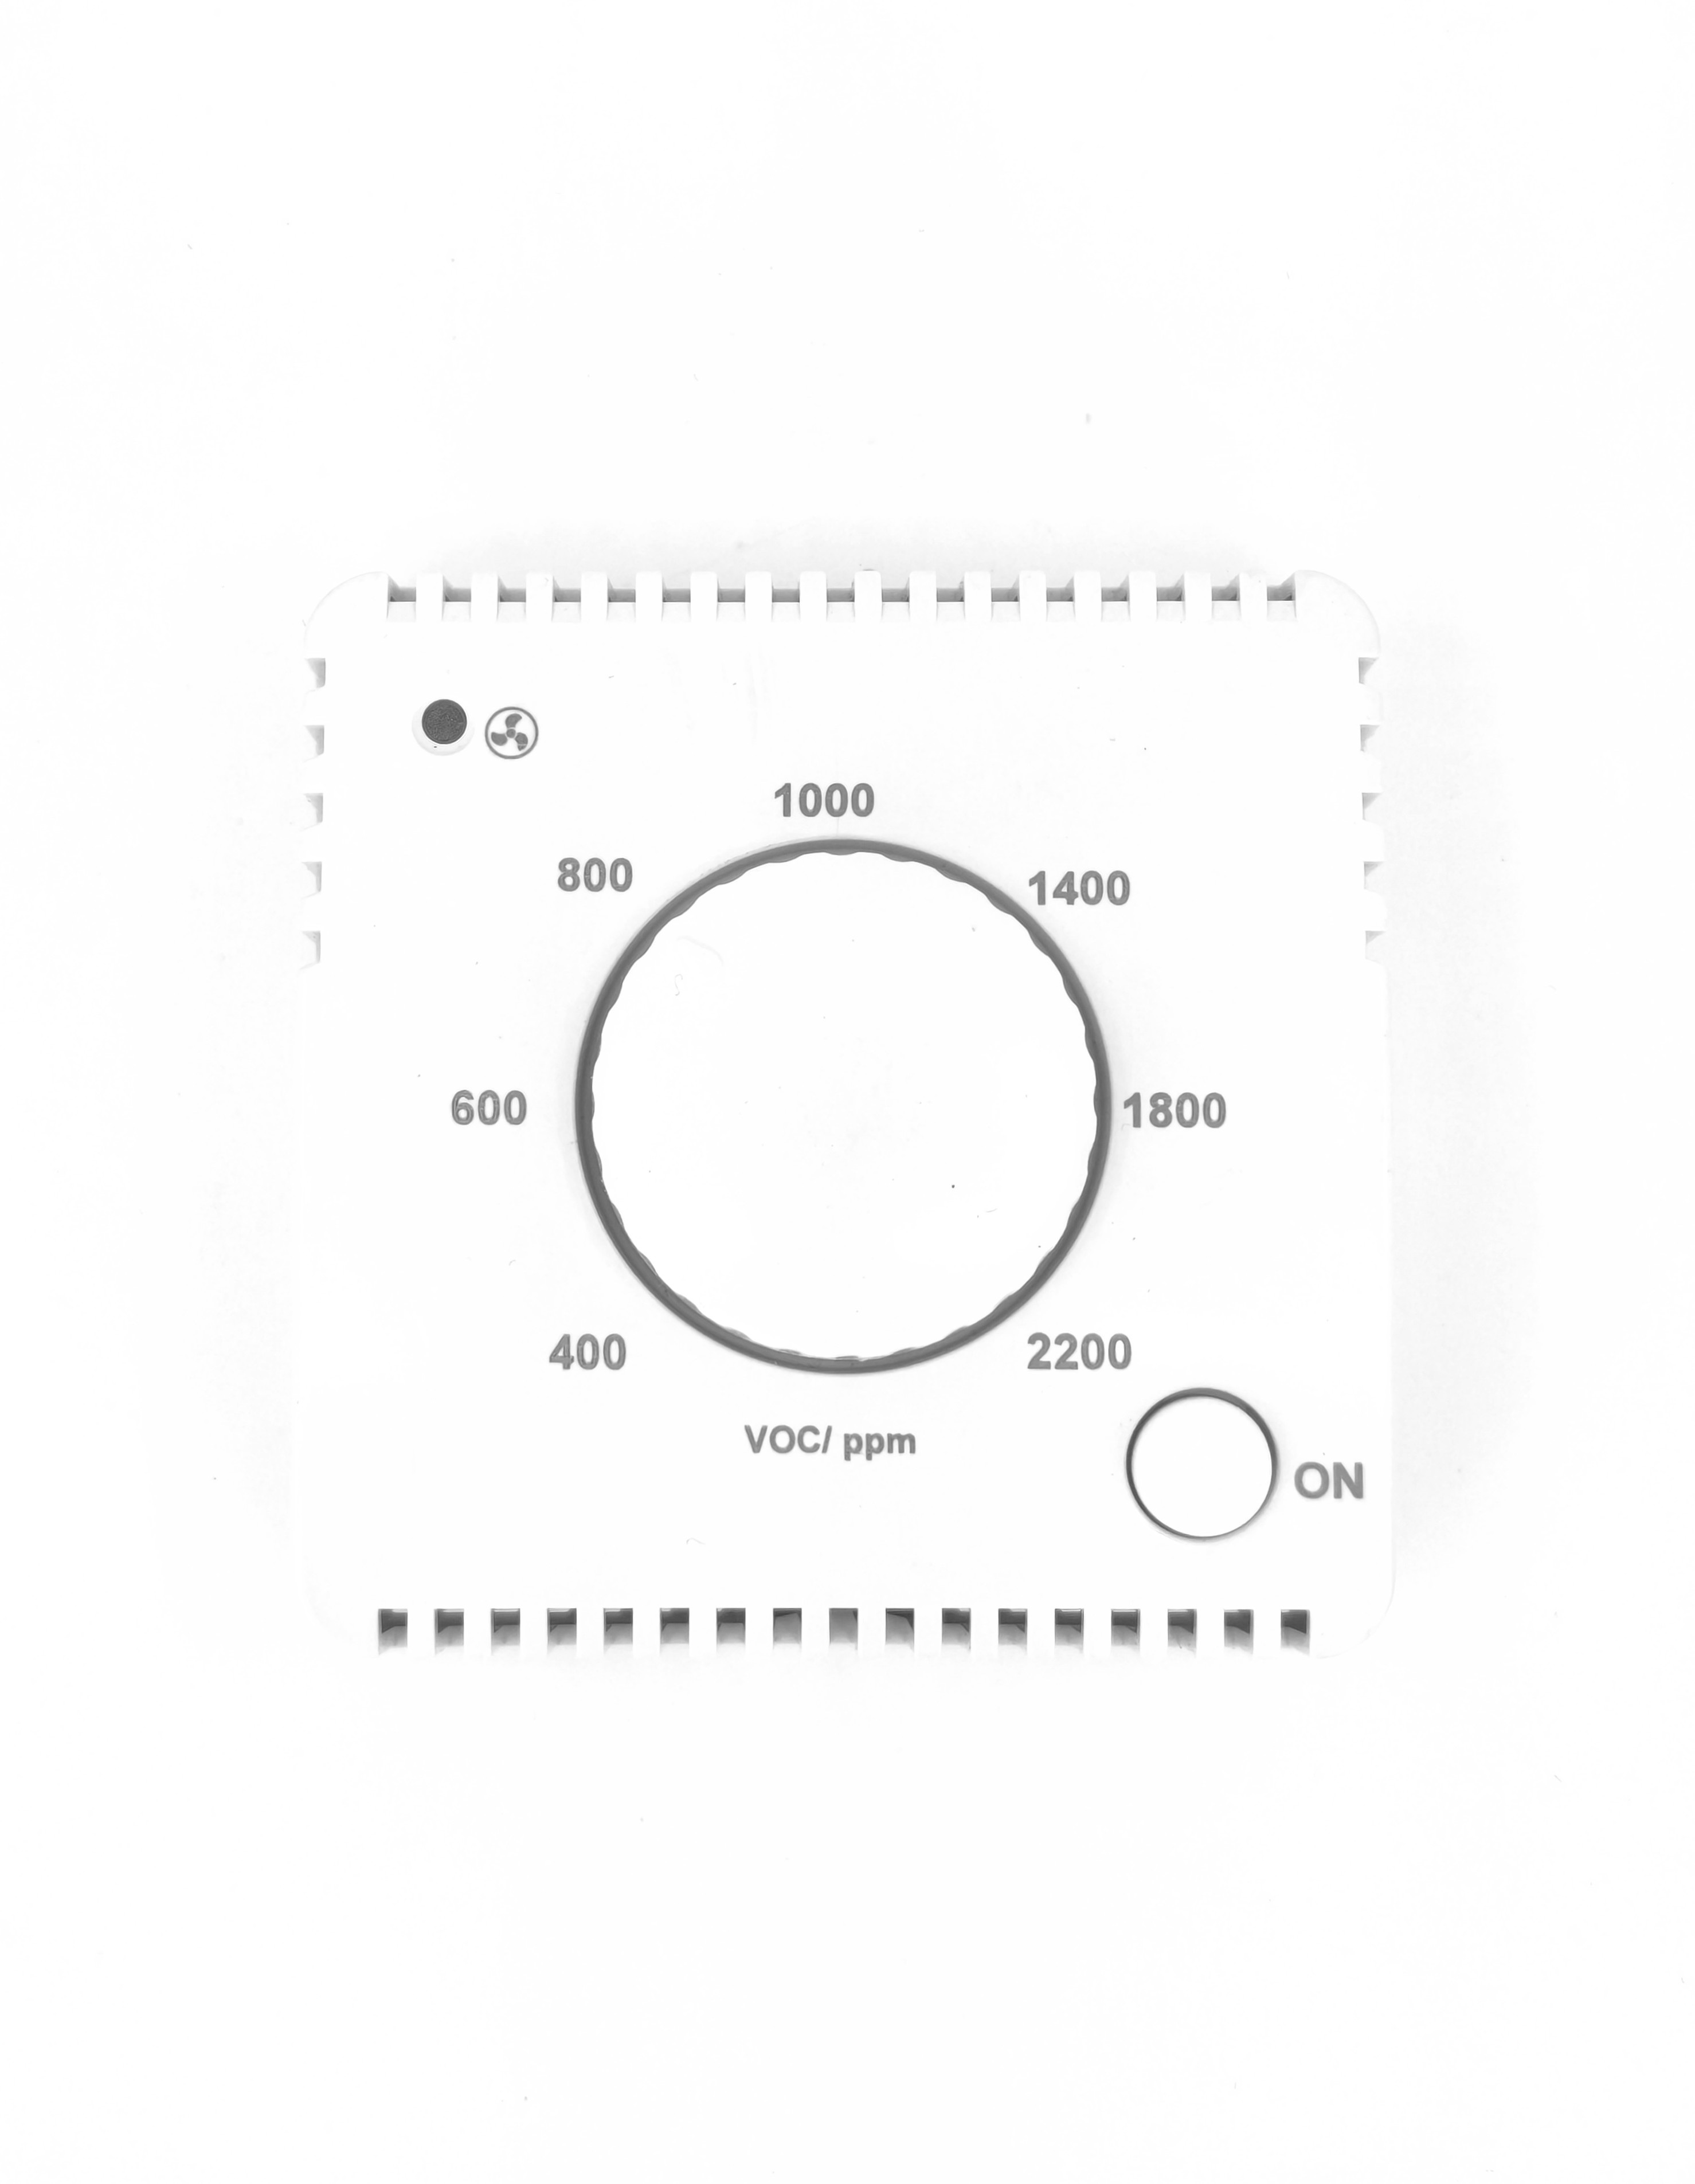
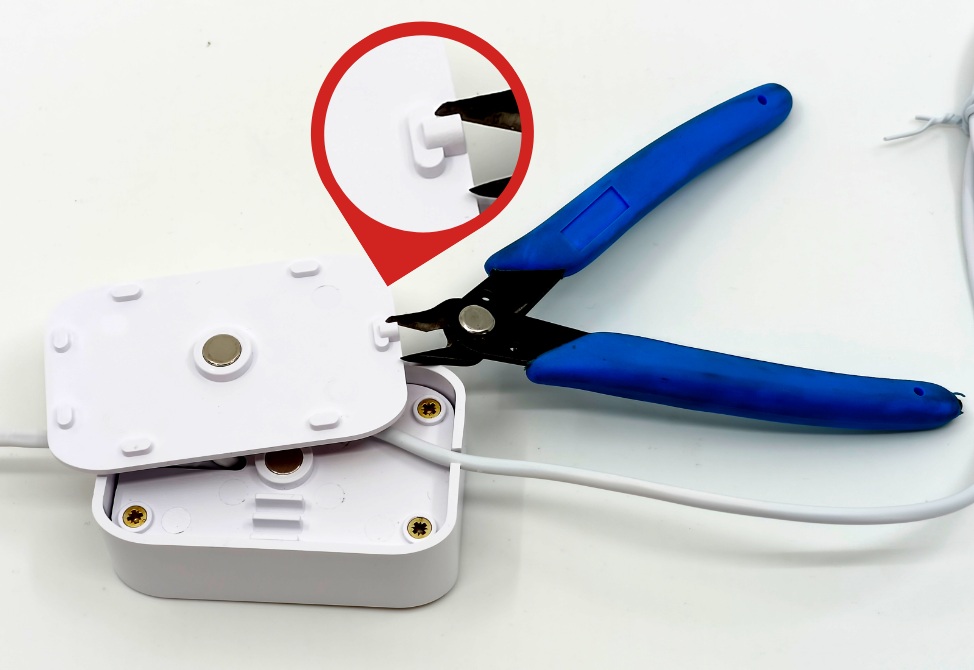
The sensor also includes a manual load activation button – a single press activates the output for approximately 10 ±1 minutes. This function can be used to start ventilation immediately without waiting for automatic control.
Safe and Easy Power Supply
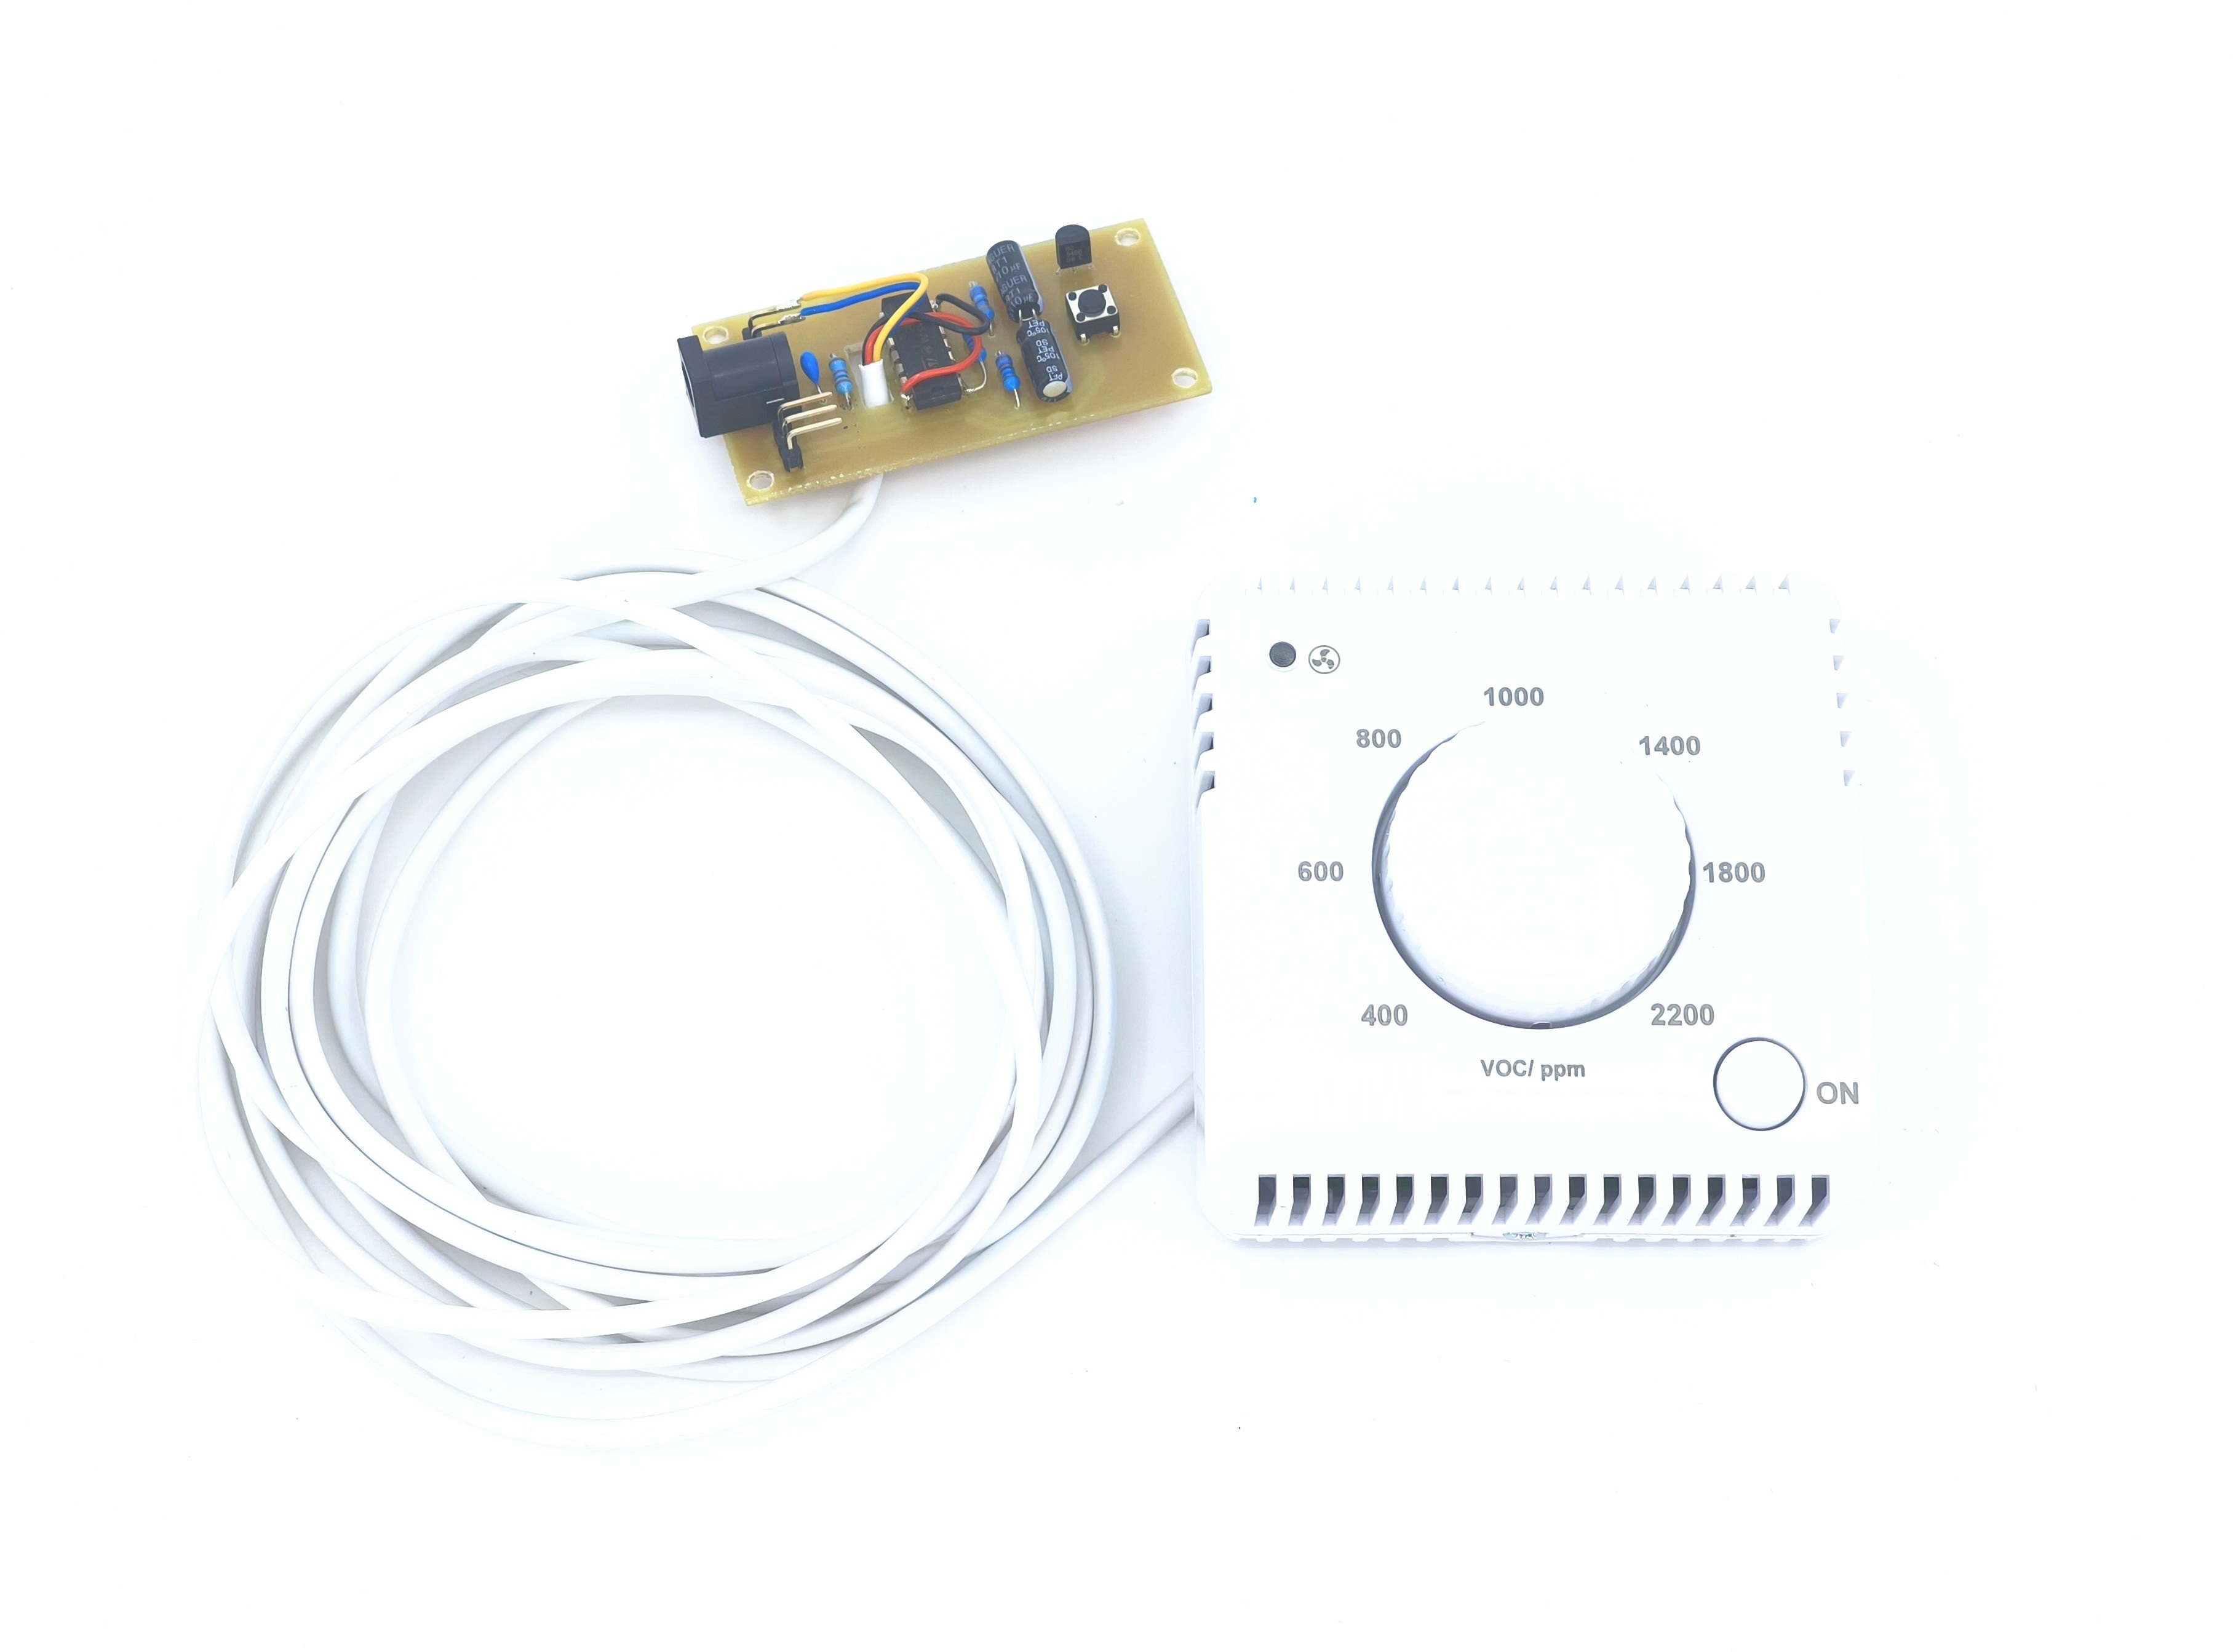
Our sensor can be powered directly from the Smarwi 12 V DC power source.
- No separate socket required
- No handling of 230 V mains voltage
- Installation can be done easily without professional qualification
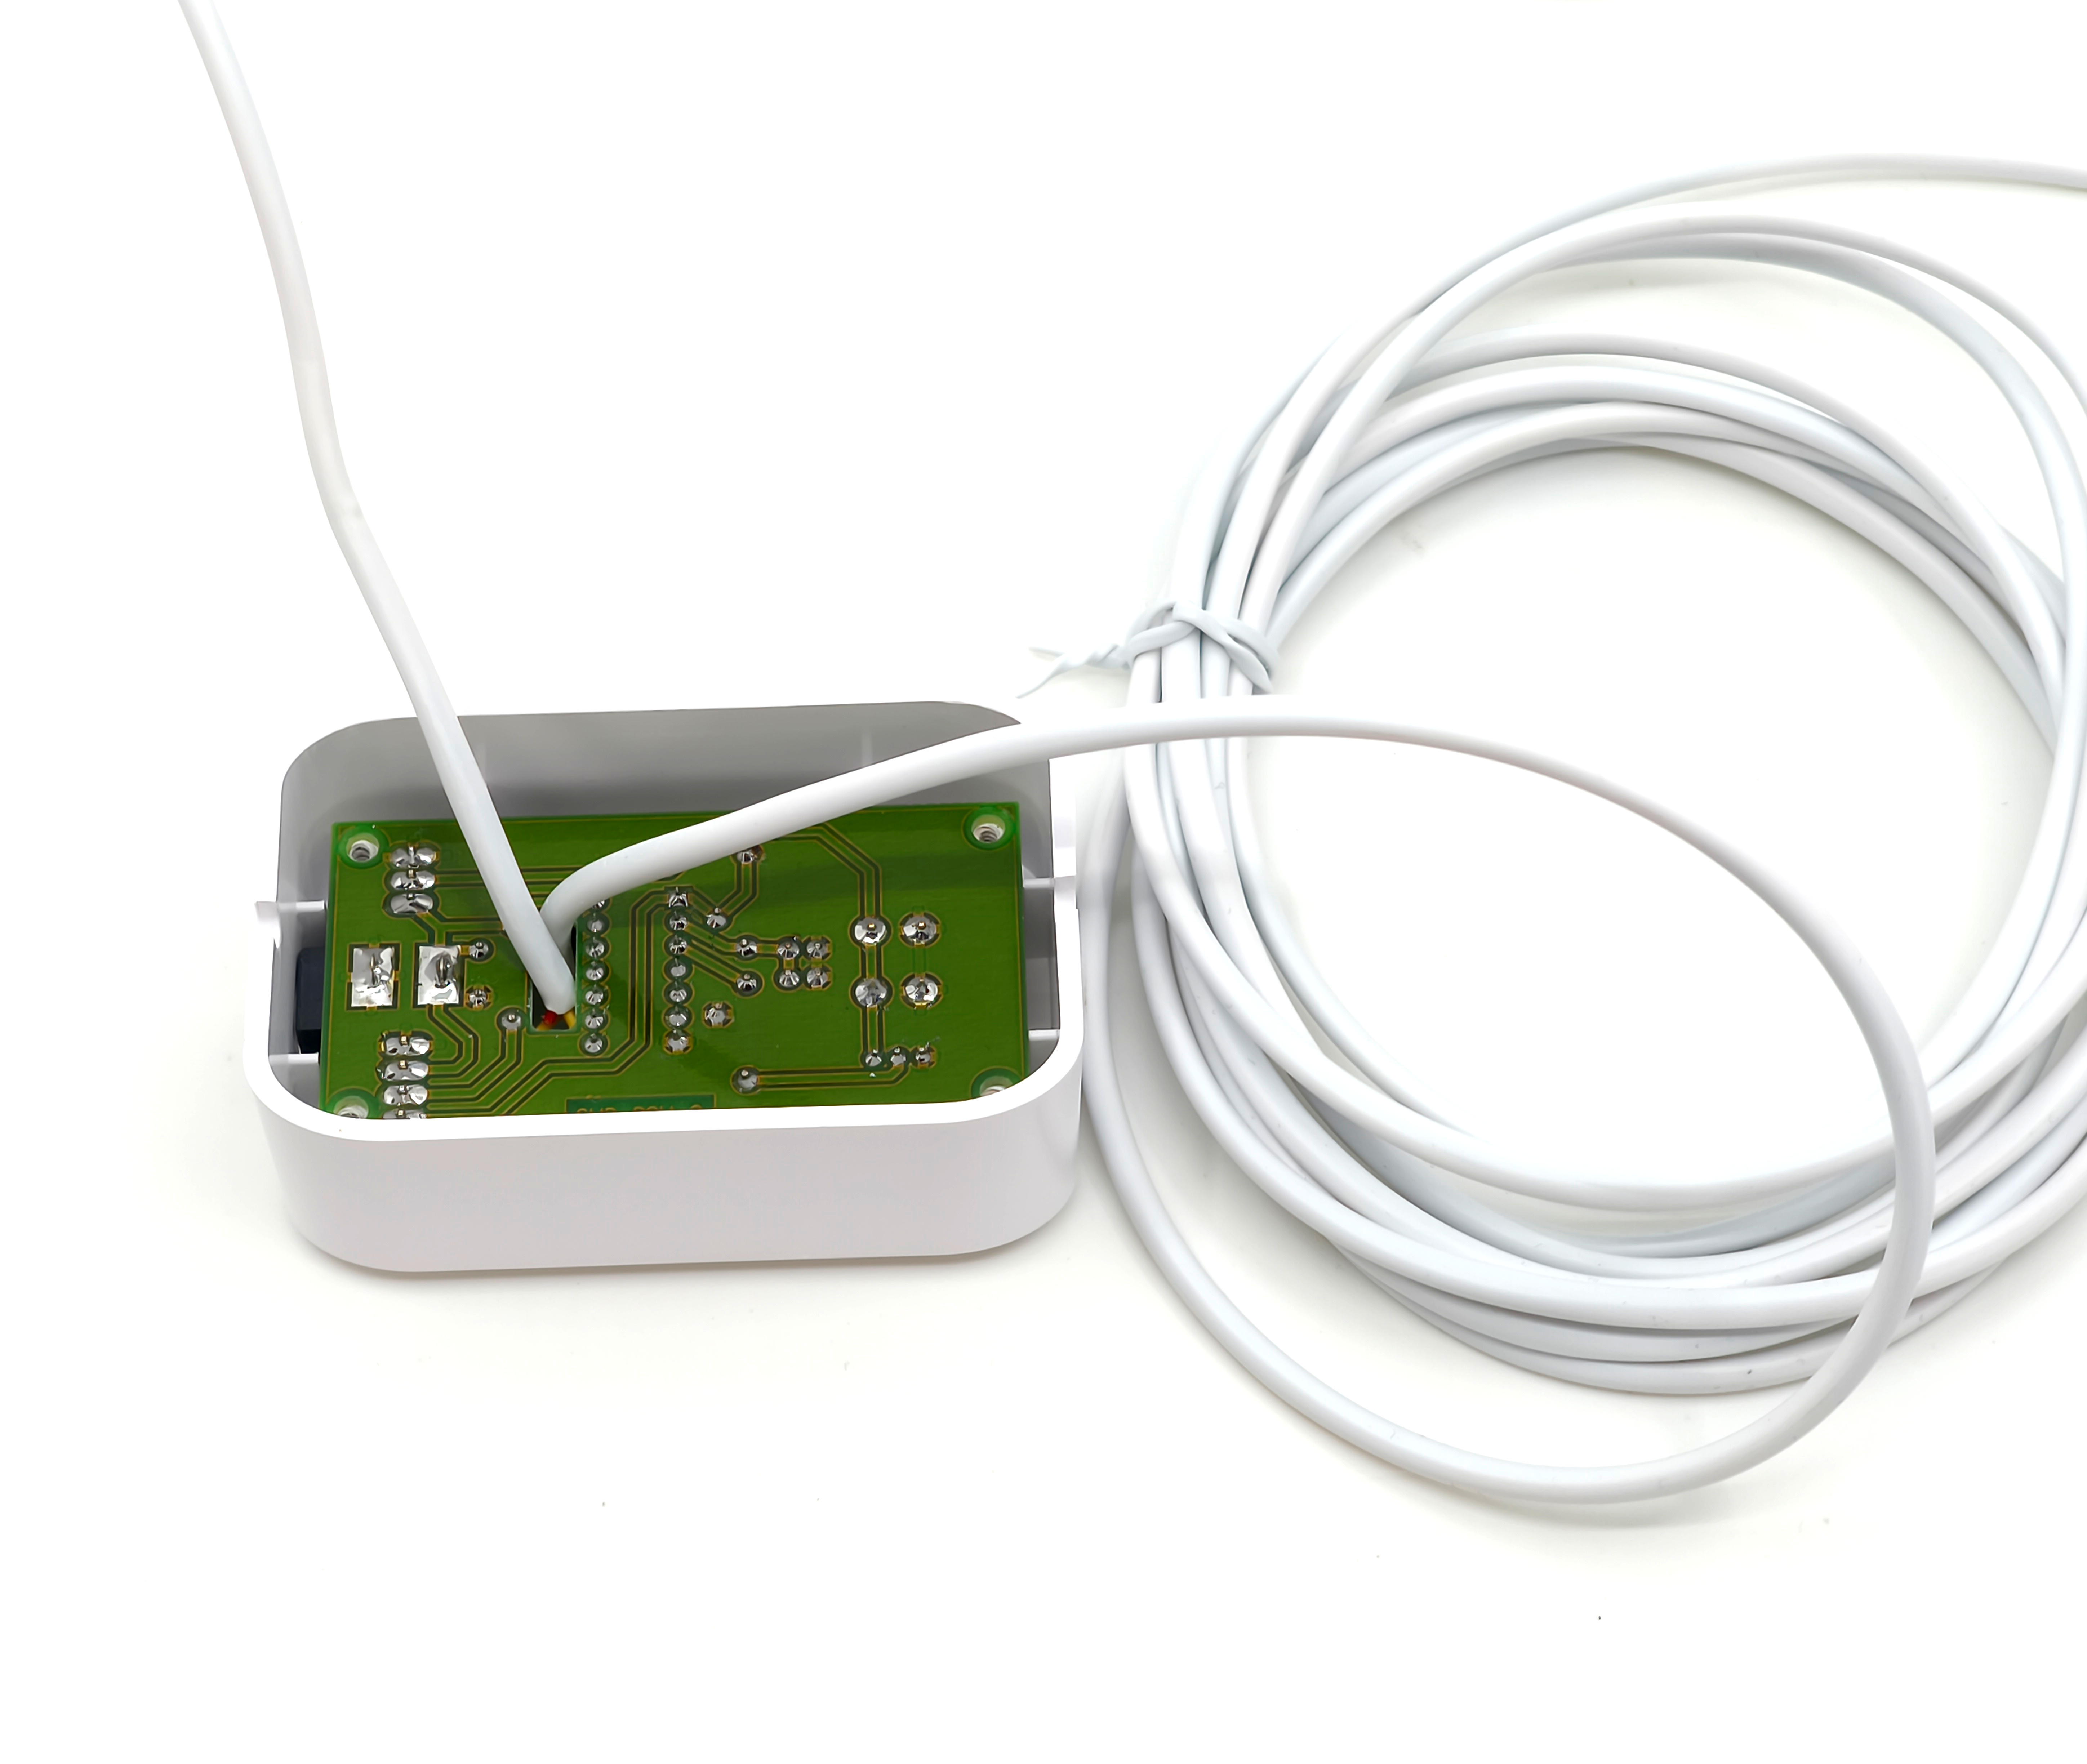
Both power and signal connections are provided through a single shared cable.
How Many Sensors Can Be Connected?
Only one sensor can be connected to the Smarwi system at a time. Choose the one most suitable for your home — combining multiple sensors simultaneously is not possible.
Advantages of the Integrated Solution
- Safe low-voltage connection
- Automatic monitoring of air quality level
- Direct connection with the Smarwi control button
- Manual activation of ventilation by pressing the button on the sensor
- Discreet design suitable for indoor spaces
Technical Specifications
- Power Supply: 12 V DC
- Power Consumption:<1 W (0.5 W)
- Hysteresis: 50 ppm
- VOC Adjustment Range: 400–2200 ppm
- Operating Temperature: 0 – 40 °C
- Operating Humidity: 0 – 95 % RH, non-condensing


")